
 |
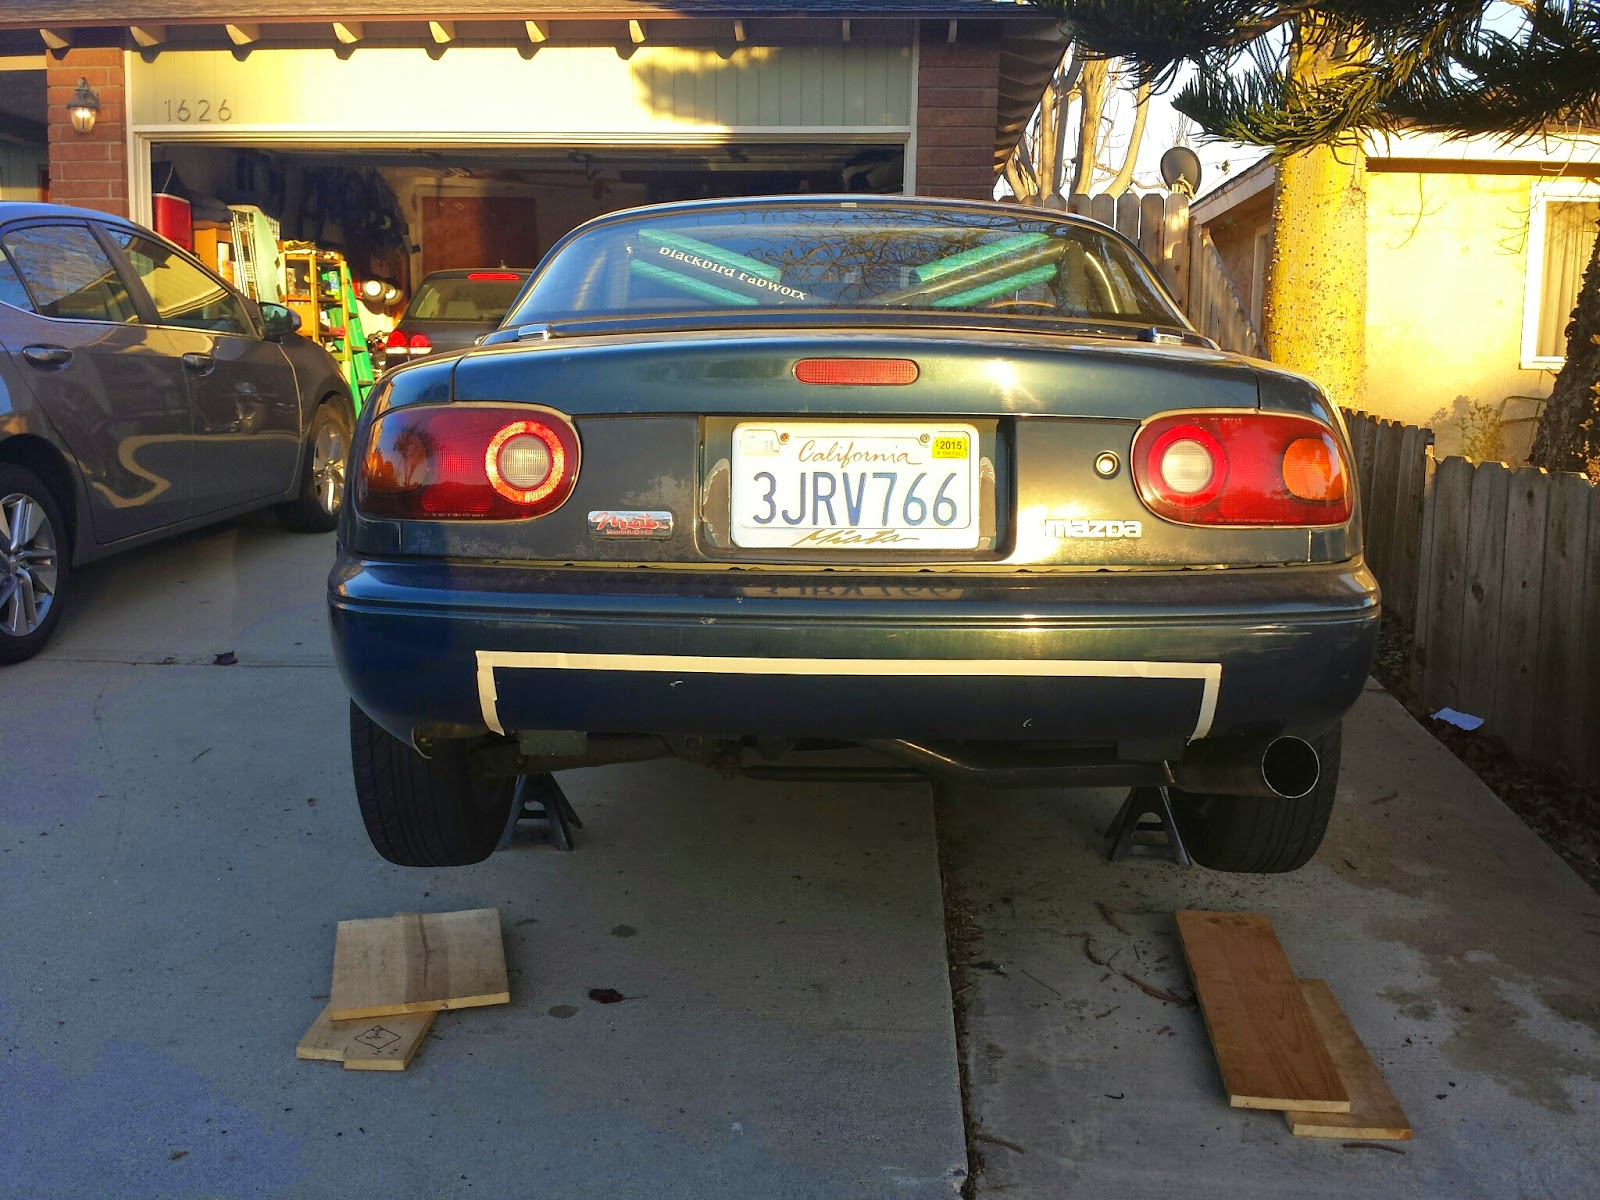
| Notice the tow hook. |


I then realized I needed to back up and figure out how wide I wanted to make the diffuser. The aluminum was a full four feet wide, but it would definitely need to be narrowed to clear the suspension and exhaust. The big question was if I wanted to keep the factory tie down/tow points, giving me a narrower diffuser or hack them off and go for the widest diffuser possible. I used some tape to try to get an idea what both options would look like.
 |
| Narrow Diffuser |
 |
| Wide Diffuser |
The first step was removing the finish panel, which requires the removal of the license plate and tail lights. I managed to get by with only loosening them.

Next the bumper cover came off, despite the protest of the plastic fasteners.

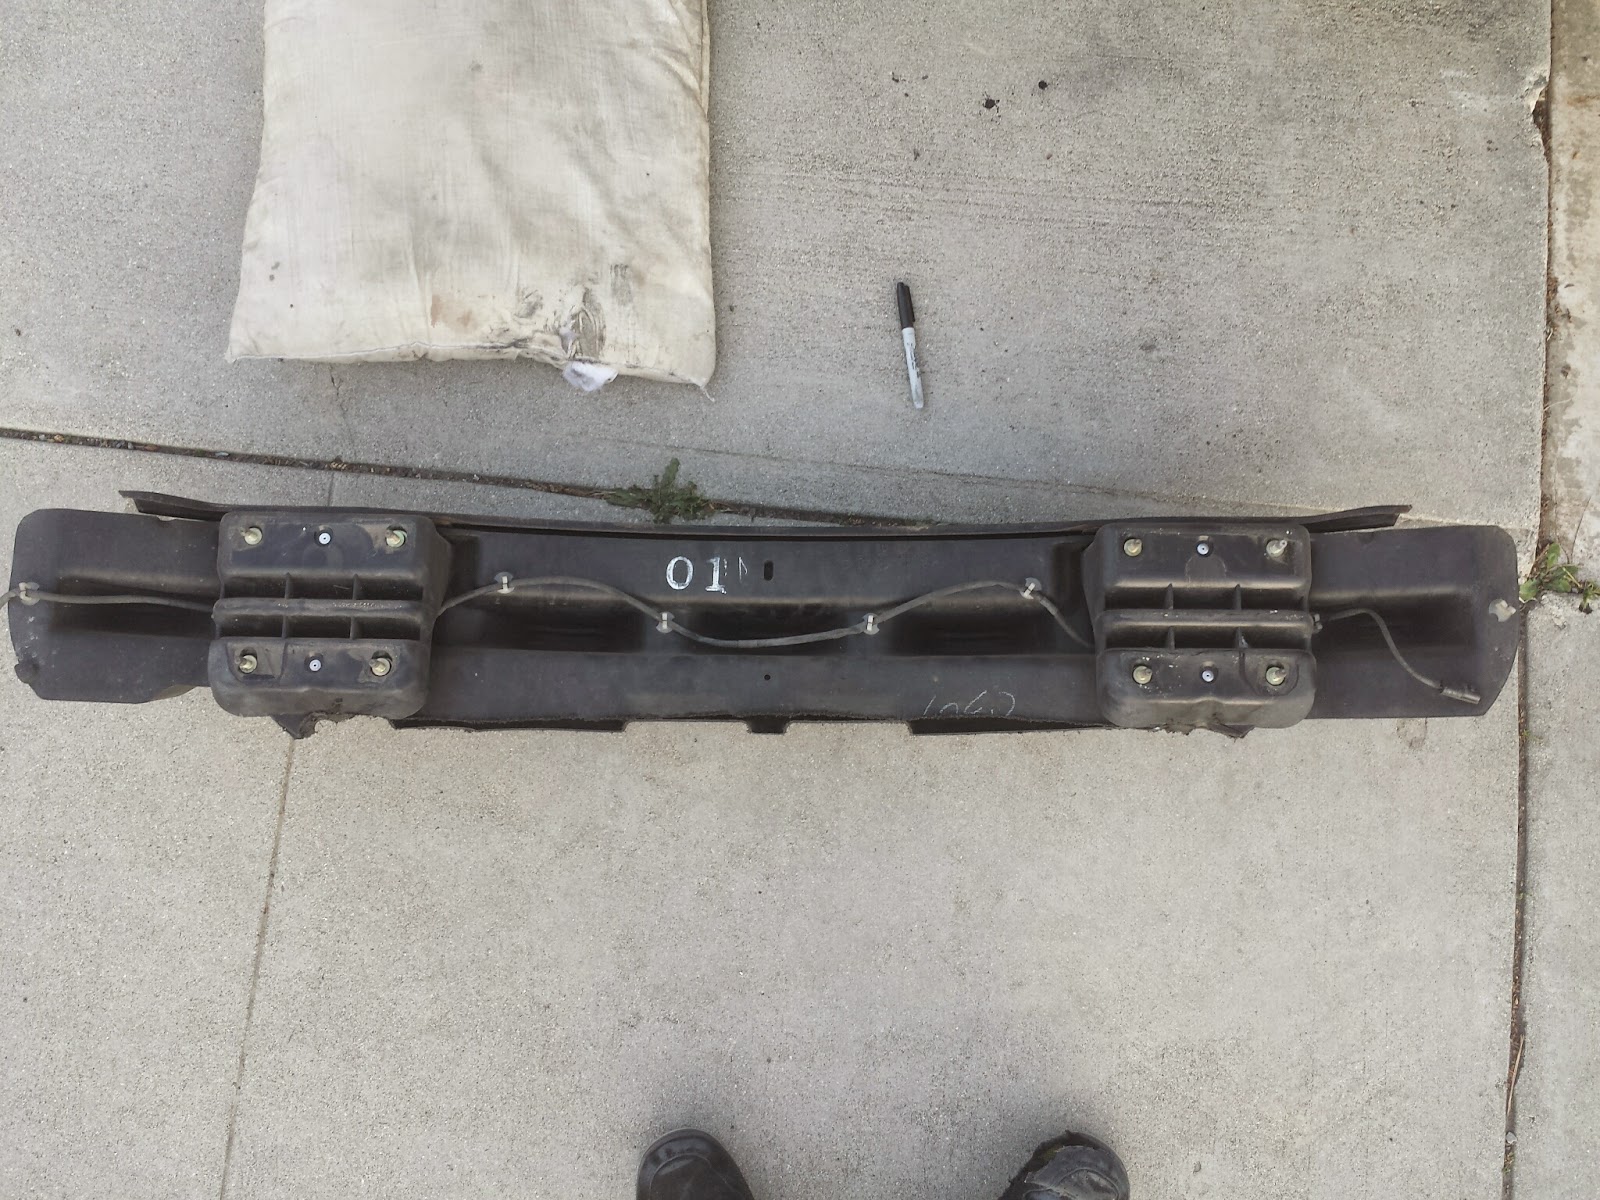
Then the plastic bumper structure came off, exposing the sections to be removed.
 |
| Rear Frame--Before |
Here's everything I had to unbolt.


I used my angle grinder to do most of the work, and I only had one incident. The grinder caught on something and flung out of my hands. The disk then wrapped up the pillow I was using as a knee pad and stalled. I quickly jumped up and unplugged it. I was actually impressed with my fast reaction and resolution. The damage to the disk was pretty impressive. With the installation of a new disk, I was back to work.

I eventually got the parts off, but it was a challenge. The angles were awkward, resulting in some pretty rough looking cuts. Fortunately, nobody will see them and judge me.

I was originally going to make the entire edge flat, but at the last minute I had the clever idea to leave the outside lower bumper mounting hole. I would still be able to make the diffuser quite wide, and the bumper would be much more secure with it in place. It would also turn out to be a handy mounting point later.

To avoid rust, I hit all the bare edges with some primer.

 |
| Rear Frame--After |
 |
| Rear Bumper Structure--Before |
 |
| Rear Bumper Structure--After |

However, I'm not a big fan of bare license plates, so I used an old trick of mine and made a faux frame out of electrical tape. Super light and decent looking.

I put the back of the car together again and got back to the aluminum. I trimmed the front edge to match the back of the sheet in front of it and made the back as wide as would fit inside the exhaust. It lightly touches the passenger side suspension arm at full droop, but I think it will be fine.

I discovered one of the exhaust hangers was an issue, so I decided to modify it. The lowest portion was below the weld, so it wasn't doing anything.
 |
| Exhaust Before |
 |
| Exhaust After |
With the exhaust ground down, I started trimming the bumper skin.

This is what the sheet looked like.

Here it is untrimmed and halfway installed.


As you can see, it sits quite nicely.

With the upper part done, I started on the lower sheet again. After much consideration on the rearmost mounting, I got a 1/8th by 1 inch strip of aluminum and bent it to attach the to bumper mounting bolts I cleverly left behind. The bending was not easy, and is by no means perfect. I attached it to the sheet with five screws.

Once bolted up, I pretty much had the final curve to the diffuser. I messed up a little and didn't ensure the left and right sides had symmetrical curves. The exhaust impacted the right side. This isn't too big an issue, except I planned to use the same shape on all the fins.
It looks fine here, but definitely needs some trimming.


I created the fin template out of cardboard based on the exhaust side, then made aluminum versions. I started with the bottom of the fins parallel to the ground, but it looked pretty silly, so I ended up trimming three inches off the back end.

Once all the fins were made I attached them to the sheet with a whole bunch of hardware. I might rivet it all together at some point, but I want to be able to disassemble it for now.

One more thing I needed was a piece to tie the upper sheet into the lower sheet, so I bent up one of these for each side. They match the cut in the bumper precisely.

After all that work, here's the final result. I had to muscle it into place due to the issue with the unsymmetrical curves, but it bolted up. It's not perfect, but I'm still proud of it. I think I can improve it with some tweaking, but I'm going to live with it as-is for a while.


I definitely added some weight with all the aluminum, but I did remove some as well:
Tow Blocks: 4 lbs.
Black Bumper: 1 lb, 7 oz.
License Plate Frame: 12 oz.
Jack: 3 lb, 9 oz. (I wasn't carrying the spare, so why carry the jack?)
Now I have a completely flat underbody with a diffuser for a total cost of about $120 ($65 for aluminum and $50 for the hardware) and a lot of labor. That is an amazing deal compared to the commercially available options I'm aware of.
No comments:
Post a Comment