Thursday, March 27, 2014

Chrissy's Crown (Molding)

After much more frustration than I could imagine, we finally finished the crown molding in the bedroom.  You can see the work-in-progress above.  The tape is where we marked stud locations.  Don't want to tarnish the perfect paint.

I borrowed a serious saw from my coworker, Tai.  I also used his nail gun and world's slowest compressor.  Thanks buddy.

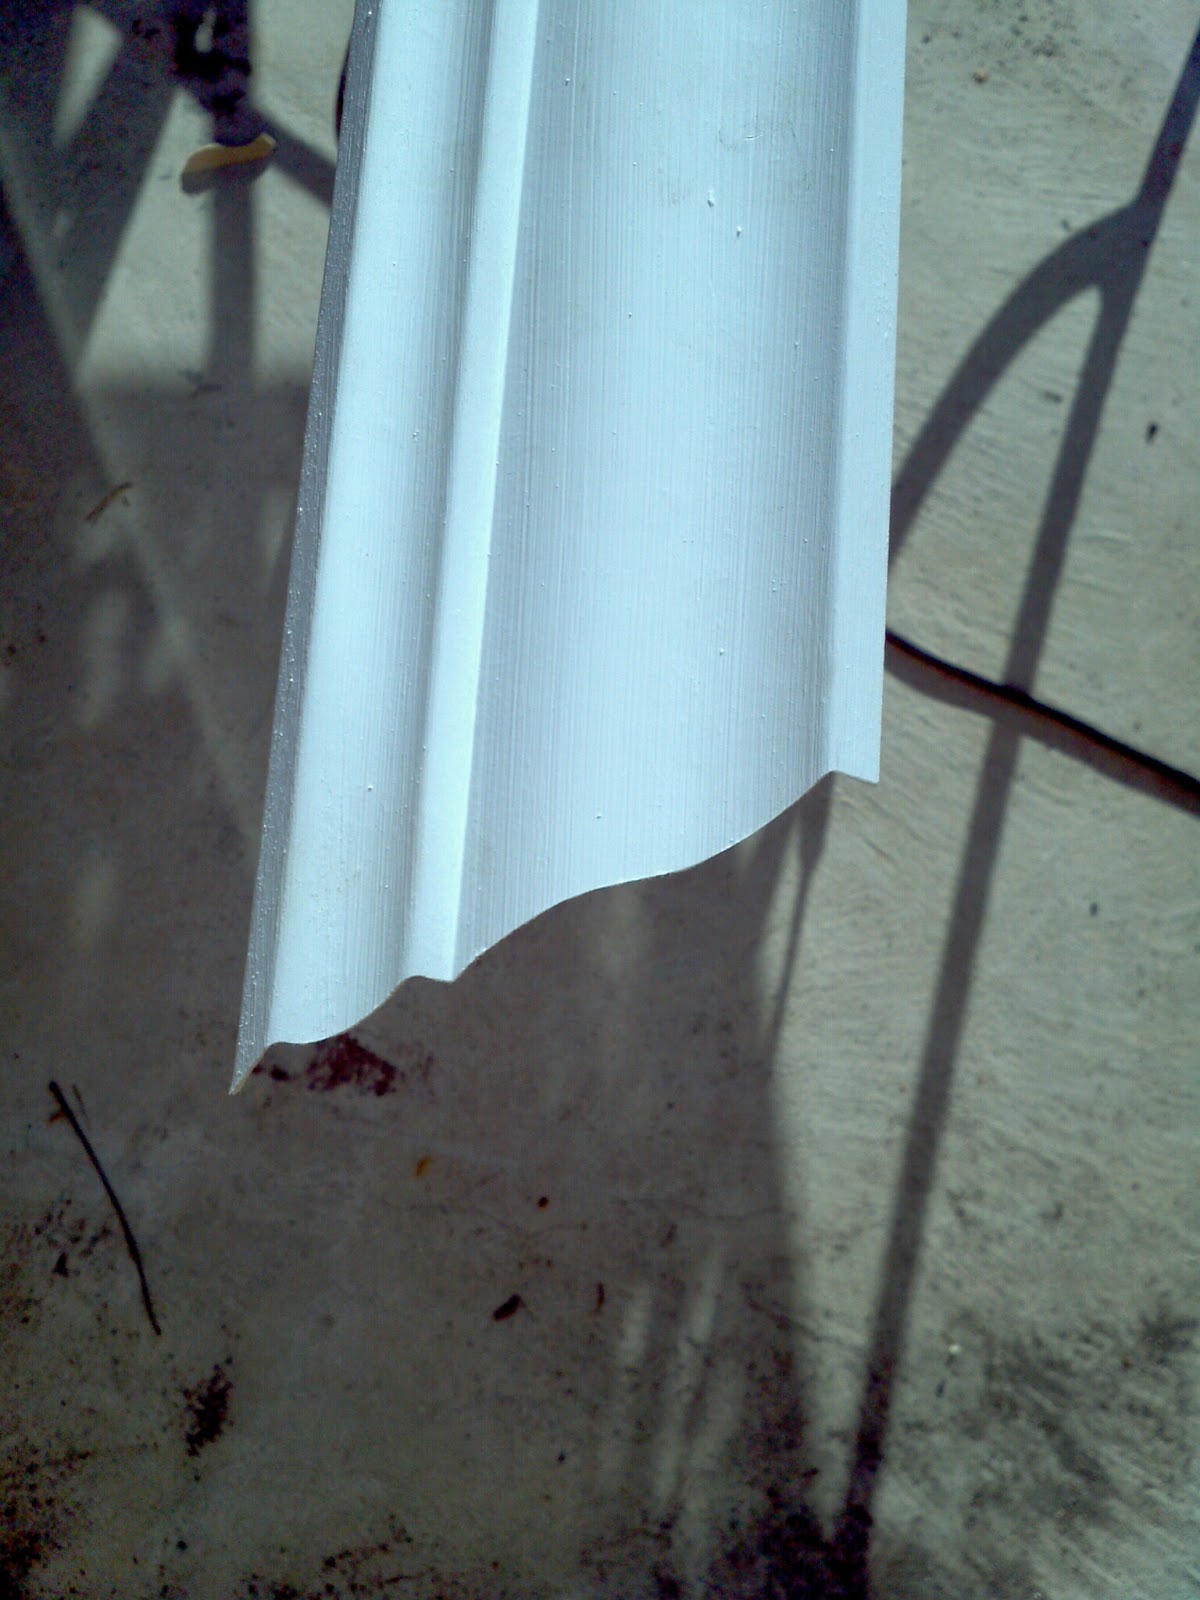
I did some serious coping, which resulted in beautiful corners.


Speaking of studs; which do you think worked better--an electronic stud finder or a magnet from an old electric toothbrush head?  Definitely the magnet.  I've basically given up hope on the electronic variety.  I ordered an official magnetic one and in initial trials, it works wonderfully.

 Here's some detail shots of the finished product.
Above the curtains.
Over the stencils.  We planned the height perfectly.
And here is the overall result.  We are very happy with it.  It feels like a swanky hotel.

Here's the same shot before the molding was in:

Now we just have to do the living room...


Sunday, March 16, 2014

Re-Patching Hot Tub Paneling

Yet another piece of the siding was trying to escape from the hot tub, so I had to take action.  I think I had put a nail in this one before, but it didn't hold, so this time I added eight stainless nails all the way up the "board."  That should hold it.

Thursday, March 13, 2014

Guerrilla Gardening

Some time ago, the city replaced a section of sidewalk around the corner from our house that had been raised by a tree.  When they did that, they removed a bunch of pavers that were in the planter between the sidewalk and street.  I assumed they were going to plant something there, but time passed and nothing happened but weeds.

I decided I would do a little guerrilla gardening and spruce up the area.  There were sprinklers installed, so I figured things would grow.  I started by applying a liberal dose of herbicide to all the weeds.  Here's what it looked like a couple weeks later:

I then cleared all the dead weeds, rocks and random trash and spaded the soil to soften things up.  I cleverly chose to do this on the hottest day of the year.

I found a cable box!  I smoothed things down and spread grass seed.

And it started to grow!  As you can imagine, I was very pleased by how many idiots walked and rode on the soft soil.

And it grew some more.

And here's what it looks like now.  I just sprayed the weeds you can see, so they should be dead soon.
The gardeners who tend that area have even started mowing it.  Great success!

I encourage all of my readers to not only beautify your own homes, but also your community.  You will be glad you did.  And you might even find a cable box.

Friday, March 7, 2014

Grueling Guest Room

The guest/craft/sewing room has been quite a journey.  We actually started working on this room in April of 2013, and it looked like the picture above.
It was basically completed that month except for the baseboards, which took on a life of their own.  Here are some more Before shots:

See how nice the baseboards are?

We started by removing the baseboards, or trying to.
It turned out the floors were installed after the baseboards and glued to them, so we couldn't remove the baseboards without messing up the flooring.  It also explained why the tops of the baseboards were coming off of the wall--the floor was pushing against the bottom, causing them to pivot and separate at the top.
We broke off the baseboards as cleanly as possible, but quickly realized we needed a new strategy.  Fortunately, that new strategy involved me getting a new tool.  A vibrating saw thing:
 I was able to cut the old baseboards off at floor level, making it possible to install new ones properly.  It was not fun.

After getting the baseboards handled, it was time for paint.

Yellow paint.


After painting, we got some new furniture, but the room sat for a long time awaiting new baseboards.  Here's our selection process:

We bought baseboards and crown molding some time later, but then it sat awaiting paint for months. We finally got our act together in the past couple weeks and painted all the molding, and this week, I installed the baseboards.

We also arranged our furniture, hung curtains and art and finished off the room.  We are very happy with the way it came out, and generally happy to just have it done.  Here's the finished product:

Here's the before pictures one more time, for comparison:

Sunday, March 2, 2014

Inspiration 10

BMW R100RT
This is a clean BMW build.
http://www.bikeexif.com/bmw-r100rt-custom

Triumph TR6R
Triumph TR6RThis bike has a beautiful seat that converts from a one to two-seater.
http://www.bikeexif.com/triumph-tr6r


BMW R90/6 cafe racer
This is another nice BMW.  I like the crash bars.
http://www.bikeexif.com/bmw-r90-cafe-racer

Bimota DB3 custom motorcycle
This is a cool bike.  The levers are really neat.
http://www.bikeexif.com/bimota-db3

Yamaha XJR400
I like this seat.  It's substantial, but not bulky.  Something like it could work well on the BMW.
http://www.bikeexif.com/yamaha-xjr400


Another clean BMW.  Minimal hand controls and nice color scheme.  I had the same idea for the rear license plate.  Hides awkward axle.
http://www.pipeburn.com/home/2013/12/4/1974-bmw-r906.html

Yamaha XS650 custom motorcycle
This is a cool bike.  Inspired by...a wood stove?
http://www.bikeexif.com/thrive-yamaha-xs650

Honda CBS125
I like the seat on this bike.
http://www.bikeexif.com/honda-cbs125

Yamaha XV750
Nice clean bike.  Cool satin tank.
http://www.bikeexif.com/xv750

Revival Cycles
Super clean and cool bike.  Hand controls are nice.
http://www.bikeexif.com/revival-cycles

SR500 cafe racer
Nice bike.
http://www.bikeexif.com/kedo-sr500-cafe-racer

Laverda custom motorcycle
Really like this bike.  Cool tank and nicely detailed seat.
http://www.bikeexif.com/laverda-750

BMW R100 RT custom motorcycle
Nicely done BMW.  Clean details and rear shock.
http://www.bikeexif.com/bmw-r100-untitled