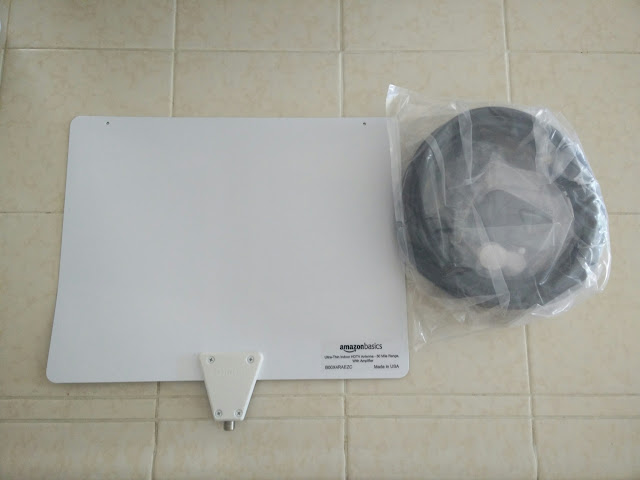
After the initial success of our attic antenna, reception has become worse and worse. I finally got tired of it and ordered a flat antenna from Amazon. The model we got is "amplified" to boost the signal, and it is working great.
I think this thing works better than our big antenna because it was designed to pick up digital signals and I was able to position it further back in the attic where the neighbor's house won't block the signal so much.
Sunday, June 26, 2016
Thursday, June 23, 2016
A Change for Our Change
We have been dumping our spare change into a jar for years, and every time it fills up and we have to count it all, we are miserable, so I decided to buy a segregated coin holder. I put way too much thought into which one to get, but finally settled on this one because it has the smallest footprint.
It is working out really well, but there was one problem. In dim lighting, it was hard to tell which slot was for which coin since the labels were the same color as the rest of the unit.
I solved the problem in no time using a Sharpie to highlight the raised labels. Our coin sorting has never been so efficient.
Saturday, June 18, 2016
Drawer Slide Salvation
The slides on our drawers were pretty much the worst thing in the world, so it was inevitable that this would happen. I've wanted to replace all the slides for some time, but have never gotten around to researching what is available these days and following through. Now I had to do something, and it involved being in this position for extended periods:
 |
| You won't find this position in an Ergonomics Handbook, for good reason. |
Now that I had replacement slides, I was ready to get to work. The first step was uninstalling the old hardware.
Next I installed the rear brackets for the new slides. This wasn't easy because they have to be positioned so the slide will be level and it is incredibly awkward to reach them, but I got them eventually.
Then the cabinet half of the slides were installed.
Before installing the drawer half of the slide, I had to do some repair to the drawers. Our old slides rest all the weight of the drawer on the sides, which run along wheels when they are opened and closed. After years of use, the particle board was starting to disintegrate.
I applied a generous helping of wood glue and things were much more solid afterward. I would probably have done a more extensive repair, but the new slides carry the weight in the center, so the sides won't have nearly as much wear on them anymore.
The slides didn't quite fit our drawers, so I had to customize them with an additional hole.
The geometry of the drawer wasn't right, so the edges hit the cabinet. I had to do something.
The solution was to cut shims to go under the slides.
If all goes as planned, I should never have to mess with these drawers again.
Saturday, June 11, 2016
Cluster Coating
One of the first things I did with the Miata was tape the cluster shroud in place. That tape eventually had enough and became ineffective, so I decided to just remove the shroud, saving about a pound in the process. The only problem was the bright white and tan plastic that was underneath, right in the driver's line of sight.
I decided I was tired of looking at it, so out came the masking tape.
A little flat black paint made things much less distracting.
I decided I was tired of looking at it, so out came the masking tape.
A little flat black paint made things much less distracting.
Subscribe to:
Posts (Atom)


