 |
| Getting ready to ride a water taxi into NY |
Saturday, December 31, 2016
Our First Year
Boobies Please
When I was younger I wasn't exposed to people breastfeeding, I don't think I ever saw anyone breastfeed in person. I knew women did it but my lack of first hand exposure set me up for a big shock when I finally educated myself on the subject while pregnant with little miss.
I took the breastfeeding class offered by Kaiser (3hrs of nothing!), I read the literature, and I even checked out websites so I could get some idea of what I was in for. Unfortunately, NONE of that prepared me even a little bit. All I heard a billion times was how good for my baby it was, which clearly I knew, I was in the freaking class trying to learn HOW not WHY. They droned on and on saying "breastfeeding shouldn't hurt" and "latch" but without any in-person demonstration the pictures and talks didn't help me understand. I should have hit up YouTube, I'm sure they have helpful tutorials, I just didn't think of it at the time. They also failed to mention anything remotely useful:
1. Tips
2. Problem Solving
3. Funny anecdotes about what it is really like
4. Time commitment (I asked questions about this repeatedly and was only given vague answers)
Sunday, November 6, 2016
Kitchen Construction, Part 5 - Backsplash Beautification
 |
| Before |
Friday, November 4, 2016
Kitchen Construction, Part 4 - Casing the Joint
 |
| Before |
Monday, October 17, 2016
Kitchen Construction, Part 3 - Cabinet Cutting Continues

Sunday, October 9, 2016
Mail Makeover
 |
| Before |
Saturday, October 8, 2016
Sheetrock Scar
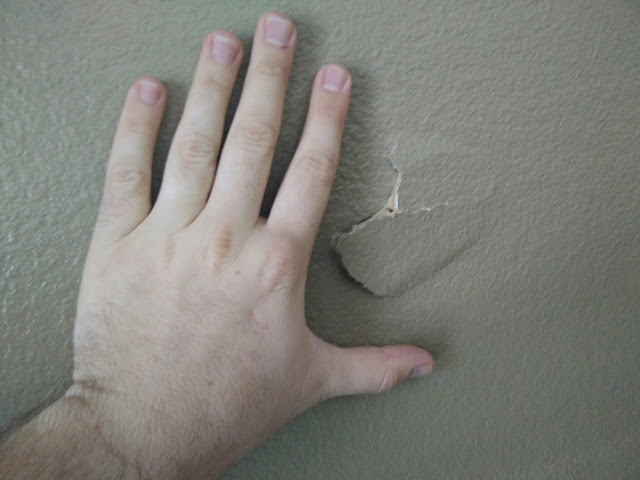
When our new electrical panel was installed, a small amount of damage was done to the drywall behind our TV.
Friday, October 7, 2016
Water Heater Hysterics

Thursday, October 6, 2016
Pekema Projects on the Road: Fence Felling

Wednesday, October 5, 2016
Pekema Projects on the Road: Trunk Table

Monday, September 26, 2016
Kitchen Construction, Part 2 - Crushing Counters
 |
| Before - ugly tile |
Tuesday, September 6, 2016
Kitchen Construction, Part 1 - Hangin' the Hood
 |
| Original Kitchen |
As you may recall, we've done a little work on the kitchen in the past, but not at the scale of the project we've just begun. We finally decided to fully refresh the kitchen, on the cheap. We are working from the top down, so the first step was replacing the range hood, which was much more involved than you might think.
Thursday, July 28, 2016
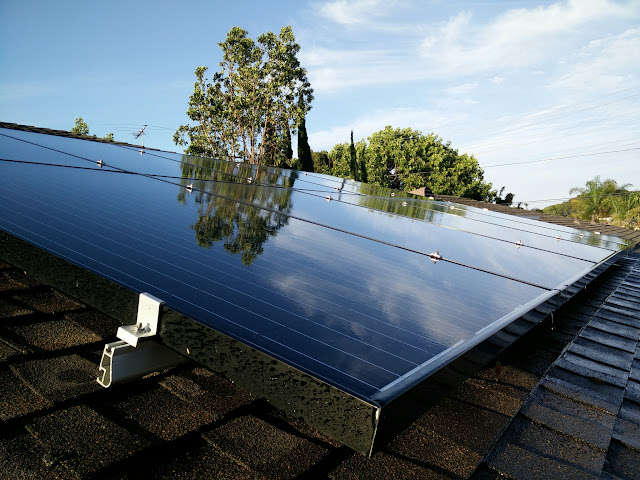
Solar Scrub
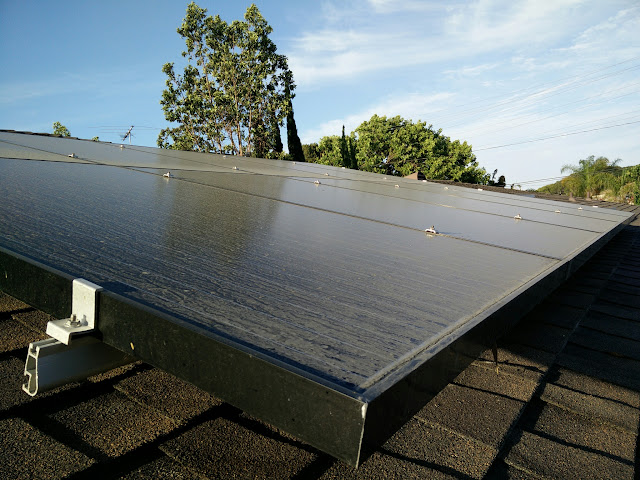
Anyway, you can see our filthy panels above. That is after five months on the roof.
I chose the laziest method of cleaning possible and just sprayed the panels with water, which seemed to work great.
The cleaning had a measurable impact on the production of the panels. The graph below shows two days before cleaning and two days after cleaning. The panels are producing about one more kWh per day after being cleaned.

Monday, July 25, 2016
Master Bath Makeover
 |
| Before (minus a few drawers...and a shirt) |
After living in our house for almost four years, the only room that hadn't been thoroughly updated was the master bathroom. It wasn't a high priority for us because it was functional and wasn't very visible. We were also concerned it would snowball into a huge project that we didn't really want to deal with or pay for.
Replacing the counter in the guest bath was a good impetus to make us start work on the master. If the countertop guy was going to be here, he might as well replace the counter in the master bath too. While not as worn as the counter in the guest bath, it was the same material and was definitely showing its age.
Luckily, my brother was around to help remove the mirror an the old countertop.


After a couple days without the counter, the new one was installed. It looked great, except the counter that was installed was not quite the same color as the counter we chose. Oops.
Fortunately, we were OK with the accidental color and the installer admitted the mistake, giving us a nice discount to make up for it. Overall, I was very pleased with the result.


The next step was for me to reinstall all the hardware. I discussed that in detail in the guest bath post, so I won't repeat it here.

The one difference is that one of the valves decided to start leaking while it was off, so I had to buy an annoyingly expensive replacement on Amazon.


Once the counter was under control, we moved on to the cabinetry. I started by removing all the doors and smoothing the face of the cabinet.

You can see the quality paint job on all the doors. Everyone knows you don't need to paint the bottoms of doors.

I got a little dirty when sanding them in preparation for new paint.

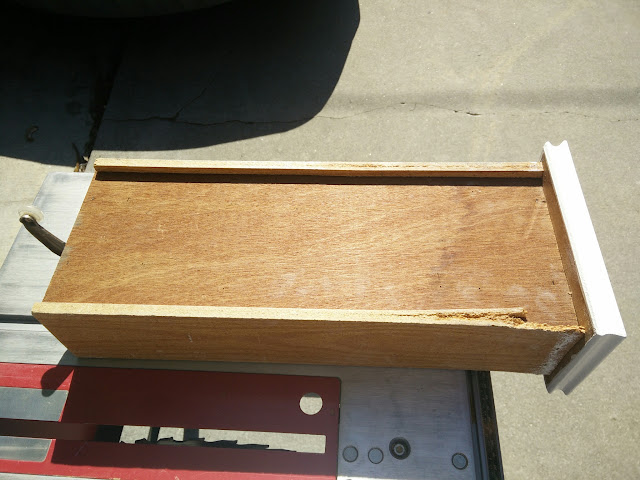
As you saw in the kitchen, I had to repair one of the drawers.

One side was fixable with just some glue.

The other side had to be replaced.

After a meticulous primer and paint job on the cabinet, doors and drawers (sorry; no pictures), our next step was to find some hardware for the cabinet. This would let us avoid touching the new paint with our dirty hands every time we need to open anything.
We briefly considered these oddly phallic knobs, but decided against them.

After way too much effort, we found some knobs we liked and were ready to install them. Drilling holes in your perfectly finished work is stressful, but had to be done.

We also installed new hinges.
Here's what it looked like once everything was installed. We were surprised to find the knobs we liked best at Target. The home improvement stores didn't have a very good selection of black knobs to choose from.

After the cabinets came new paint for the walls and ceiling. My parents helped scrub the room to prepare for the new paint.

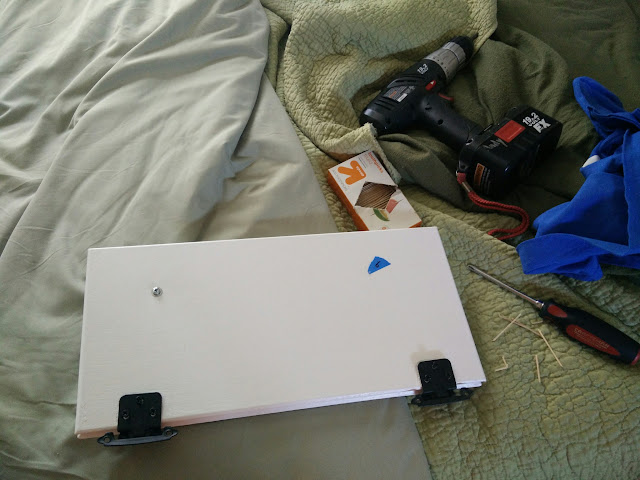
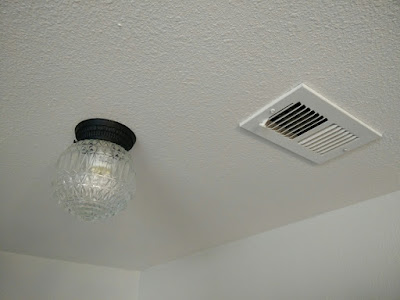
The ceiling got a fresh coat first. We also spray painted the old furnace vent and light fixture.

We had quite a time trying to pick a color. The incorrect counter made it more difficult to find something that would go with it as well as making sense with the colors in the bedroom. This is a test of the gray from the office. It didn't make the cut.

Chrissy eventually found a great color called Sea Salt. It's a light grayish, greenish, bluish color that goes well with everything. It's a subtle color, especially in photographs, but it looks really good in person.

With the walls painted, we could reinstall the mirror. We decided to add a couple clips to the mirror because the glue that held it before we removed it was starting to fail. With new glue and the clips (held with stainless steel screws), the mirror won't be going anywhere.

The finishing touch was adding molding around the mirror, similar to what we did in the guest bath. If you do this, remember to paint the back side of the molding because you can see its reflection in the mirror. Also don't put glue too close to the edge for the same reason.

 |
| Notice the freshly spray painted light fixture. |
One fun detail was slimming down the top left "rosette" so the medicine cabinet could open.

After all that work, the bathroom was finally done.
I think it looks pretty good, considering we didn't completely gut it. Someday we would like to put in a big walk-in shower and new tile on the floor, but we are pretty happy for now.


Here's the before shot again.
We spent less than $1,000 on this makeover, which I think is pretty darn reasonable.
The cost breakdown looks something like this:
Counter: $800
Faucet Valve: $24
Knobs: $30
Paint: $80
Molding & Hardware: $40
Total: $974
Sunday, June 26, 2016
Another Antenna

I think this thing works better than our big antenna because it was designed to pick up digital signals and I was able to position it further back in the attic where the neighbor's house won't block the signal so much.

Thursday, June 23, 2016
A Change for Our Change

It is working out really well, but there was one problem. In dim lighting, it was hard to tell which slot was for which coin since the labels were the same color as the rest of the unit.
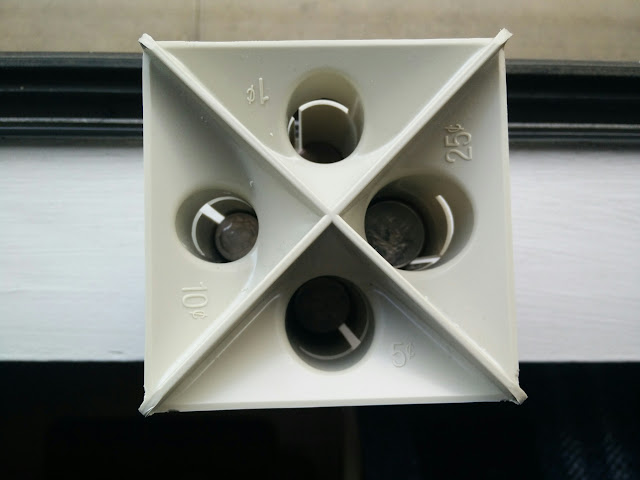
I solved the problem in no time using a Sharpie to highlight the raised labels. Our coin sorting has never been so efficient.

Subscribe to:
Posts (Atom)