 |
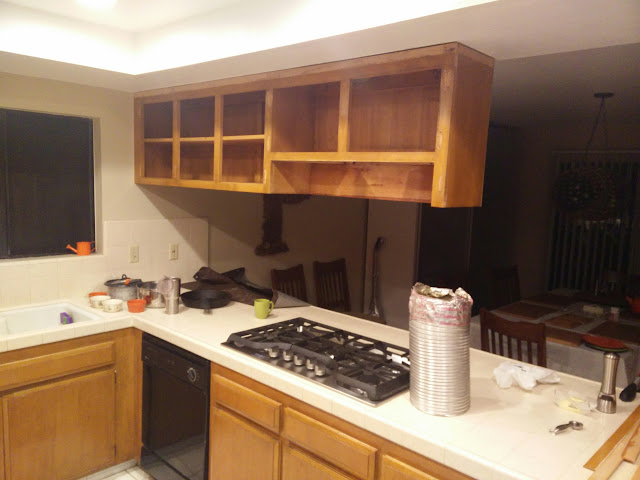
| Original Kitchen |
As you may recall, we've done a little work on the kitchen in the past, but not at the scale of the project we've just begun. We finally decided to fully refresh the kitchen, on the cheap. We are working from the top down, so the first step was replacing the range hood, which was much more involved than you might think.
 |
| Lightly Modified Kitchen |

We removed the cabinet doors and the old hood to reduce weight.
Then we removed the entire cabinet. Luckily my cousin Vince was visiting and helped with this and several other projects.

The room looks so much more open.

The old vent was pretty rough.

Due to the style of the new hood, I had to move the outlet. That meant a couple sweaty trips into the attic.


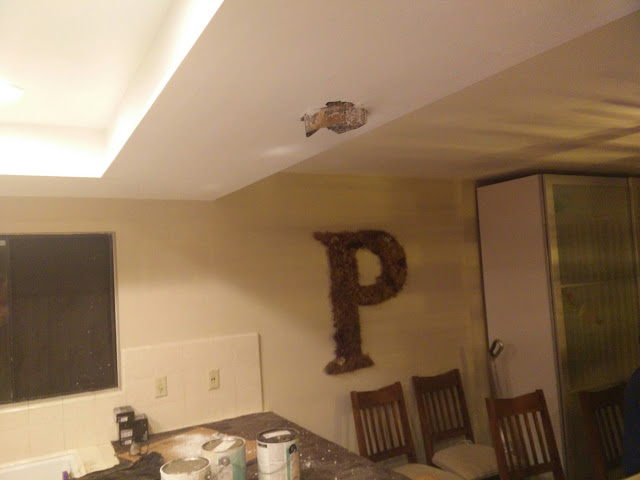
Now I had to repair the drywall, which meant I first had to make a bigger hole.

Then I had to install the patch and add texture.


Primer came next.

Now the patch is pretty much invisible.

The final coats of paint made it look like there was never any cabinet there.
It was now time to prep the vent to receive the new hood. Chrissy helped with the tin snips.

The hood was designed to mount on a higher ceiling than we have. I knew this when I bought it and figured I could modify it to work, and modify it I did. I started by shortening the mounting brackets.

Next I shortened the vent shrouds. I chose a length that would allow the vent to be lowered in the future if a short person ever wanted to.


Once all the parts were ready, we could start the mounting process. The first step was installing the bracket, which I modified so the hood would be more centered over the range. The hood came with drywall anchors and the instructions said to just use them, but I don't think that would be very safe, so I sunk four long stainless screws into rafters instead.

The brackets were then screwed to the hood.

We then lifted the hood into place and wedged a couple long drywall screws into the holes to hold it in place.

I then painstakingly installed all 16 nuts and bolts that secured the hood to the ceiling.

The hood was plugged in and the grease filters were installed. I had a mild heart attack when one of the four LED light units didn't come on. Luckily, I found that the connector for that module had somehow come unplugged, so it was an easy fix.


The LEDs put out a pretty good amount of light. The light is very cool, in terms of color temperature, but it is fine. One interesting aspect of this hood is that the clock display on the front is really bright. It is almost like a nightlight in the kitchen. Not a big deal, but something to consider.

Here's one final before and after for your viewing pleasure.
|
| Before |
 |
| After |
No comments:
Post a Comment