 |
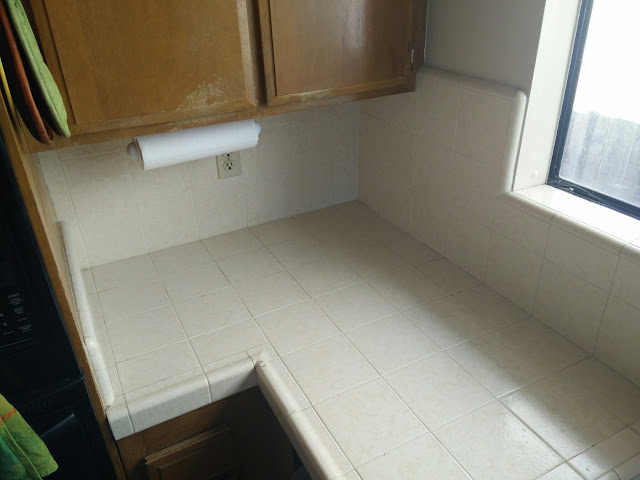
| Before |
Fun fact: a Toyota Prius is perfectly sized to haul 3' x 5' sheets of backer board.
Unfortunately, the backer board had a slight bend in it, so I used our new floor tiles to flatten it out.
The first step in the installation was taking some detailed measurements.
I then transferred those measurements to the backer board.
 |
| Note the crucial knee pillow, which makes working on the floor bearable. |
Here's the most complicated piece. Luckily, my measurements and cutting were accurate and it fit perfectly.
We were told we didn't really need to use backer board, but I was skeptical the tiles would stick to the painted drywall. The backer board also made everything more sturdy, which I liked.
As you may recall, we installed a cabinet on top of the backer board in one corner.
Before laying the tile, I knocked down the high spots that were created around each screw. A wire brush worked perfectly.
For the more complicated areas, we made cardboard templates that we used to pre-cut all the tile for that area. It allowed us to take our time instead of rushing and trying to beat drying mortar.
We selected a natural stone that was probably the most difficult possible material for beginner masons, but we were careful and things went OK.
I used the diamond blade in my angle grinder to do intricate cuts and a big tile saw borrowed from a friend for simple cuts. We were lucky to have my (shirtless) brother's help. It would have been tough without him.
Once the tricky sections were all cut, we mixed up the thinset and started putting it on the walls.
Tiles followed.
Here's the last piece being installed.
And here's the finished product. We are VERY pleased with how it came out. There are still a few finishing touches to be done, but I wanted to get this post up ASAP.
 |
| After |
The trim has been added to the right edge.
 |
| Before |
The trim pieces were cut with exacting precision.
I'm very glad we thought ahead about how we were going to finish off this edge, because it came out very nicely.
 |
| After |
We finally completely wrapped up the backsplash by running a thin bead of clear silicone along the joint between the counter and the backsplash and replacing the electrical fixtures mounted within the backsplash.
 |
| Before |
 |
| After |


A shirtless brother cameo!
ReplyDelete