Saturday, April 25, 2015

Caged Cats

Before
We have a problem with the neighborhood cats using our back yard as their own personal litter box.  It seems like every time I walk on the lawn, I step in cat shit.  Something had to be done.
The back corner of our yard is their favorite spot to enter and exit.  You can see how they've eroded the top fence board in the photo above.
Before
We looked into various repellents, but none seem that great.  Fortunately, Chrissy discovered that cats apparently hate walking on chicken wire, so we decided to coat the top of the fence in it.
After
Right in the corner, we folded the wire to be several layers thick.
After
We also caged in the corner area so they couldn't jump up there.  Hopefully this will deter them from coming through our yard in the future.
After

Sunday, April 19, 2015

Trashy Chair

Before
When we moved into our first apartment, my brother gave us a couple folding chairs as a housewarming present.  One of them is in perfect condition, but the one you see above has deteriorated a bit.
A bit of duct tape made it better than new.
After

Friday, April 10, 2015

Flex Fail

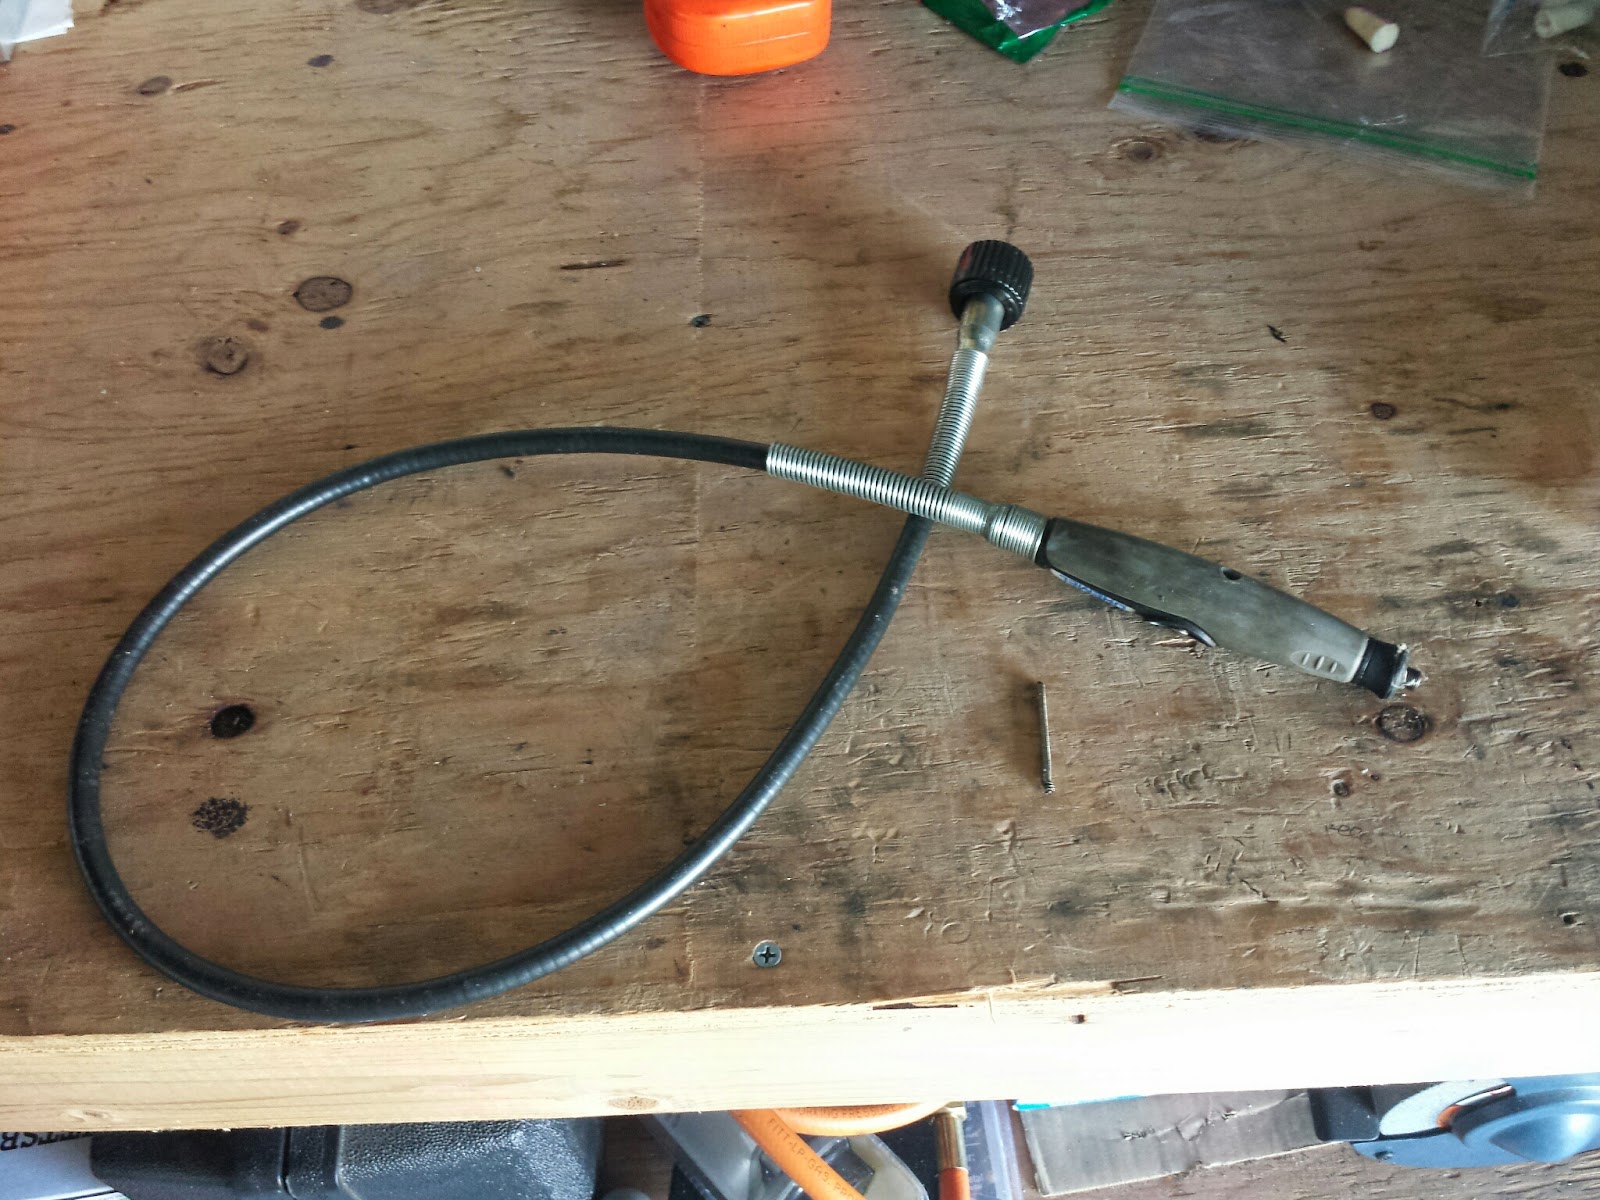
 While cutting holes in the hood of the Miata I destroyed one of my favorite Dremel accessories, the flex shaft.  The inner core, or drive shaft, sheared in two after some pretty hard abuse.
I was pretty sure I was going to have to buy another $30+ flex shaft (or live without it), but I thought there was a chance I could replace just the core.  I contacted Dremel and they provided me with a very helpful part number, which allowed me to find it on eReplacementParts.  I actually ordered two so I would have a spare.  The first one lasted 5+ years, so this is a long play to save $5 on shipping someday.

Once I received the shaft, the first challenge was taking apart the handle.  I removed two screws, the threaded tip and the spring on the bottom, but it wouldn't come apart.  After some unsuccessful prying, I looked online and discovered there is a little metal ring on each end that is practically invisible.  After removing those, it came right apart.

I removed the bit holder and the end of the shaft was exposed.

Here you can see the two pieces of the shaft.

I lightly greased the new shaft and slid it in, and now it's as good as new (except for a few pry marks).

Monday, March 30, 2015

Grungy Grills Galore

Before
Several years ago, I inherited a Weber Q barbecue from my friend Ryan, which has served me well ever since.  He recently moved, and needed to get rid of another grill, which is nicer than the Q, so that meant an upgrade for me.  The Q works fine, but I've never been thrilled with the way it cooks, so I was happy to get something else.  However, it was in need of a little work, as was the incoming grill, so I spent pretty much a full day refurbishing both of them.  I ended up selling the Q and using pretty much all the proceeds to buy parts for the new grill.
After
I'm not sure I ever cleaned out the drippings from the Q.
Before
Yum
When I was done, the Q looked shockingly good.  I even cleared out every hole in the burners to ensure an even flame for the future owner.
After
 This was a shockingly big project.


The new grill is a Weber Spirit 700 in serious need of some TLC.
Before 
The frame had some rust that needed to be addressed, but the main grill box was still sound.
Before
The grill grates and the flavorizer bars were toast.
Before
Even the stainless cabinet wasn't looking so hot.
Before
I scraped all the rust off the frame, sanded it, then painted it with a couple coats of high temperature BBQ paint. 

I ordered a bunch of new parts, including an igniter, burners, flavorizer bars, main grill grates, warming grate, and a cover.  I bought high quality stainless steel items when possible.  Amazon.com had everything I needed, at prices well below what Weber was charging.  I made a spiffy spreadsheet to help me decide which parts to buy.
New igniter and flavorizers.  I'm holding off on installing the new burners.
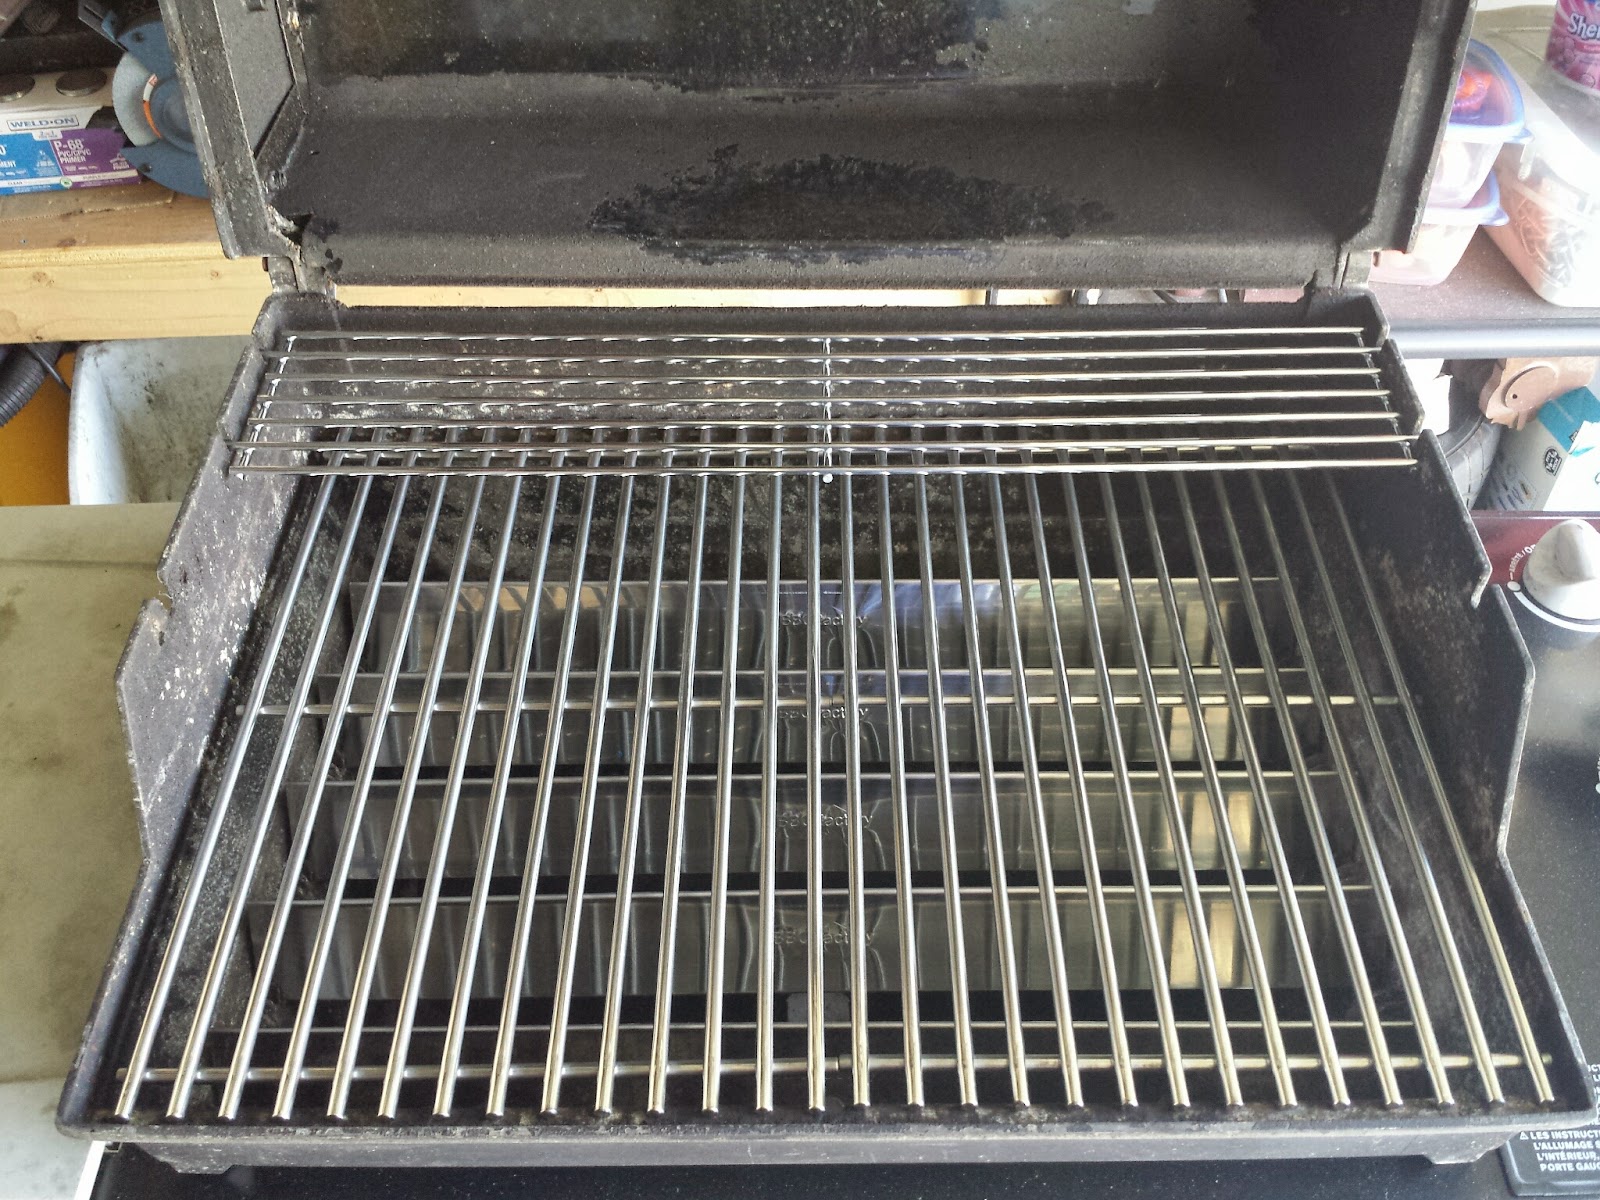
New grates.
After scrubbing pretty much every part with my bare hands, I reassembled everything.  I'm very pleased with the result.
After
Although it's a bit wrinkly, the aftermarket cover fits well.  I went with beige instead of black because I thought it would match the house better and also reflect the sun.

Saturday, March 28, 2015

Meticulous Miata Maintenance

I didn't get too much information about the Miata's maintenance when I bought it, so I figured it was time to get everything squared away.  On the to-do list: engine, transmission and differential oil change and a coolant flush.  It was a pretty impressive pile of materials.  I even had to buy a few new tools to get the job done.  They included a gear oil pump, 23 and 24 mm sockets and a 19 mm wrench (my biggest metric was 18 mm).
When I was ready to start draining oil, I remembered I threw away my old oil pan because it got really nasty, so I had to bike over to Pep Boys to get a new one.

When I removed the differential plugs, I mangled the crush washers, so I decided to get new ones for everything.  The transmission, engine and two differential washers are all the same.
Not Audi parts.
 In the transmission I ended up using Red Line MTL (not pictured in lead photo) because it comes highly recommended.  After a couple brief drives, I have to admit it has improved shift quality.  There used to be some occasional grinding, particularly going into third, but it is almost totally gone now.  I'm convinced.

This demonstrates why a coolant flush was probably due.  I replaced the thermostat and gasket while I was at it.

Everything went pretty smoothly, but it was quite a bit of work.  These weren't the most glamorous projects, but I won't have to do them again for quite a while.

Friday, March 27, 2015

Avocado Adjustment

Before
Our avocado tree came with a little stake to support it, but it wasn't quite up to the task.  Some time ago, so we got a larger stake to replace it.  The tree was floppier than I thought, so the single new stake wasn't cutting it.  We stuck the old little stake in to help, but it was time to do something better.
We acquired (completely legally) a slightly used, very long stake, and after some time with the dead blow hammer, we were able to support the tree higher up and really stabilize it.
After

Thursday, March 26, 2015

Slimming Sill Slabs

Before
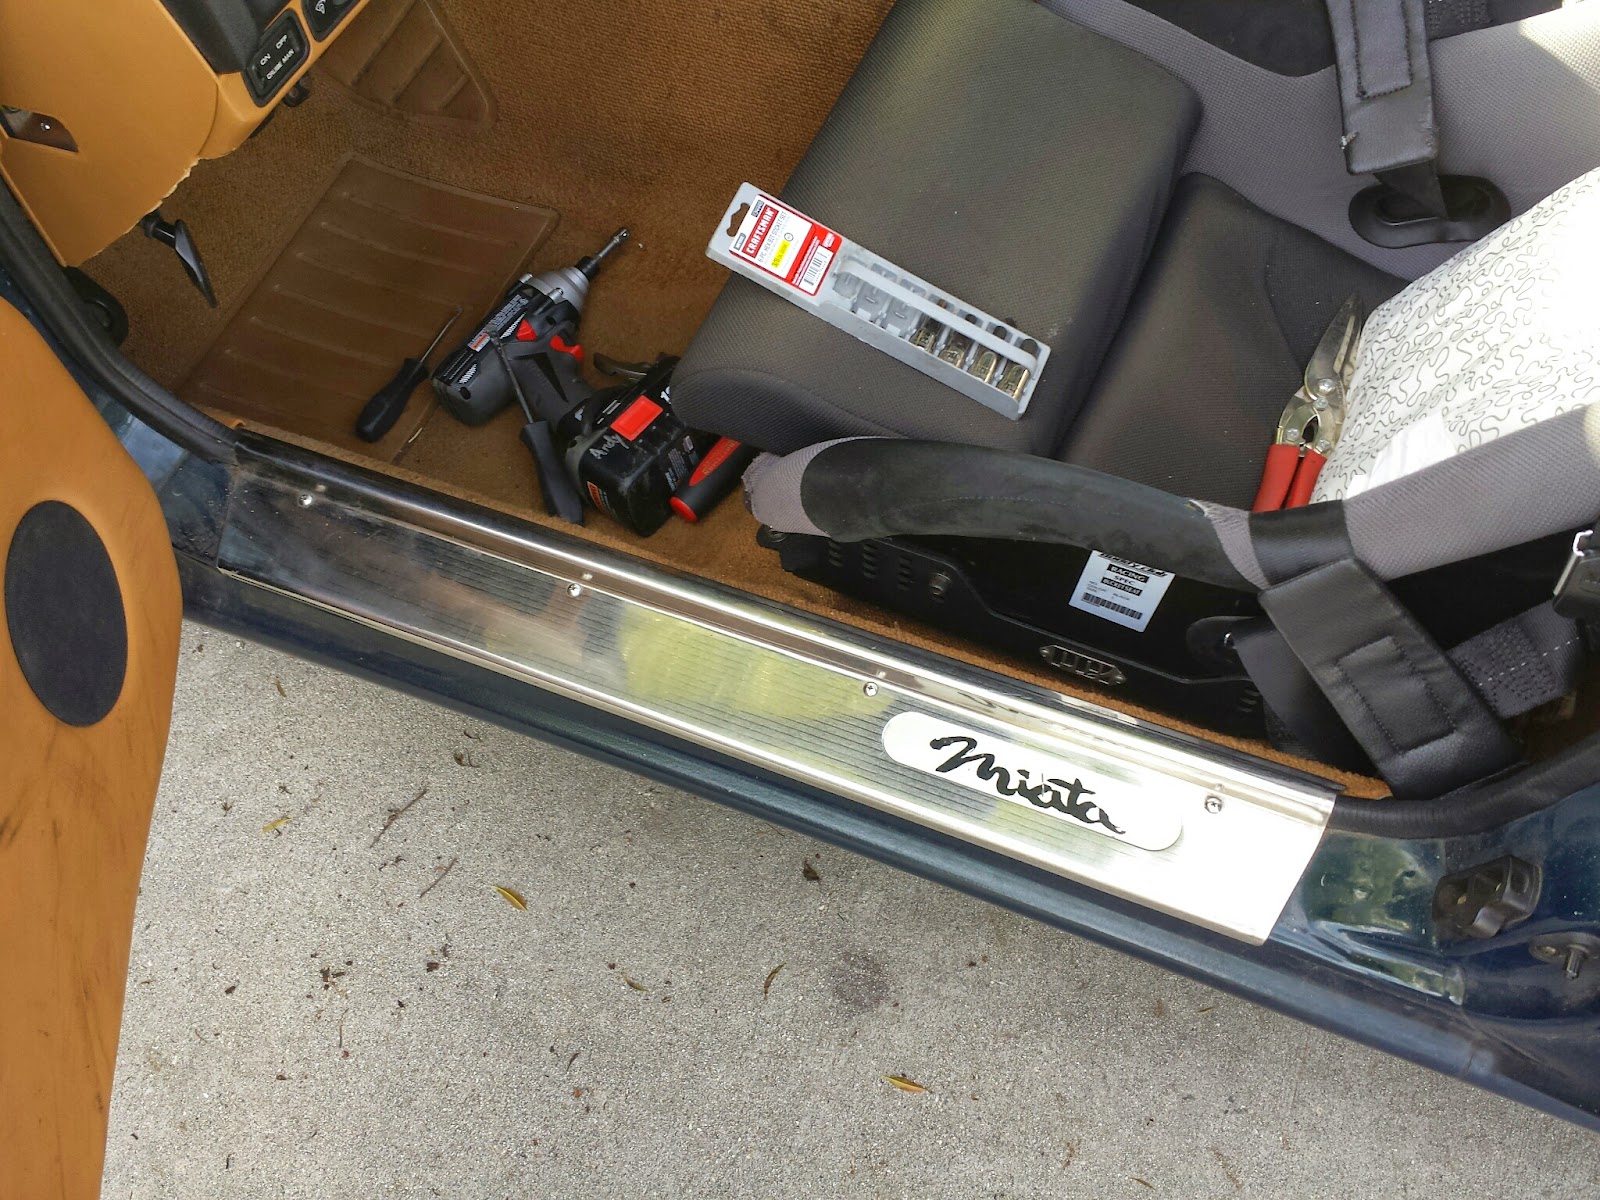
The Miata came with spiffy polished sill plates.  I have considered removing them in the past to save weight, but they appeared to be holding the carpet down, which I appreciated.  I recently realized I could slim them down to at least save a little weight.  After pulling them off, my decision to keep them was confirmed when I saw how unattractive the bare sills look.
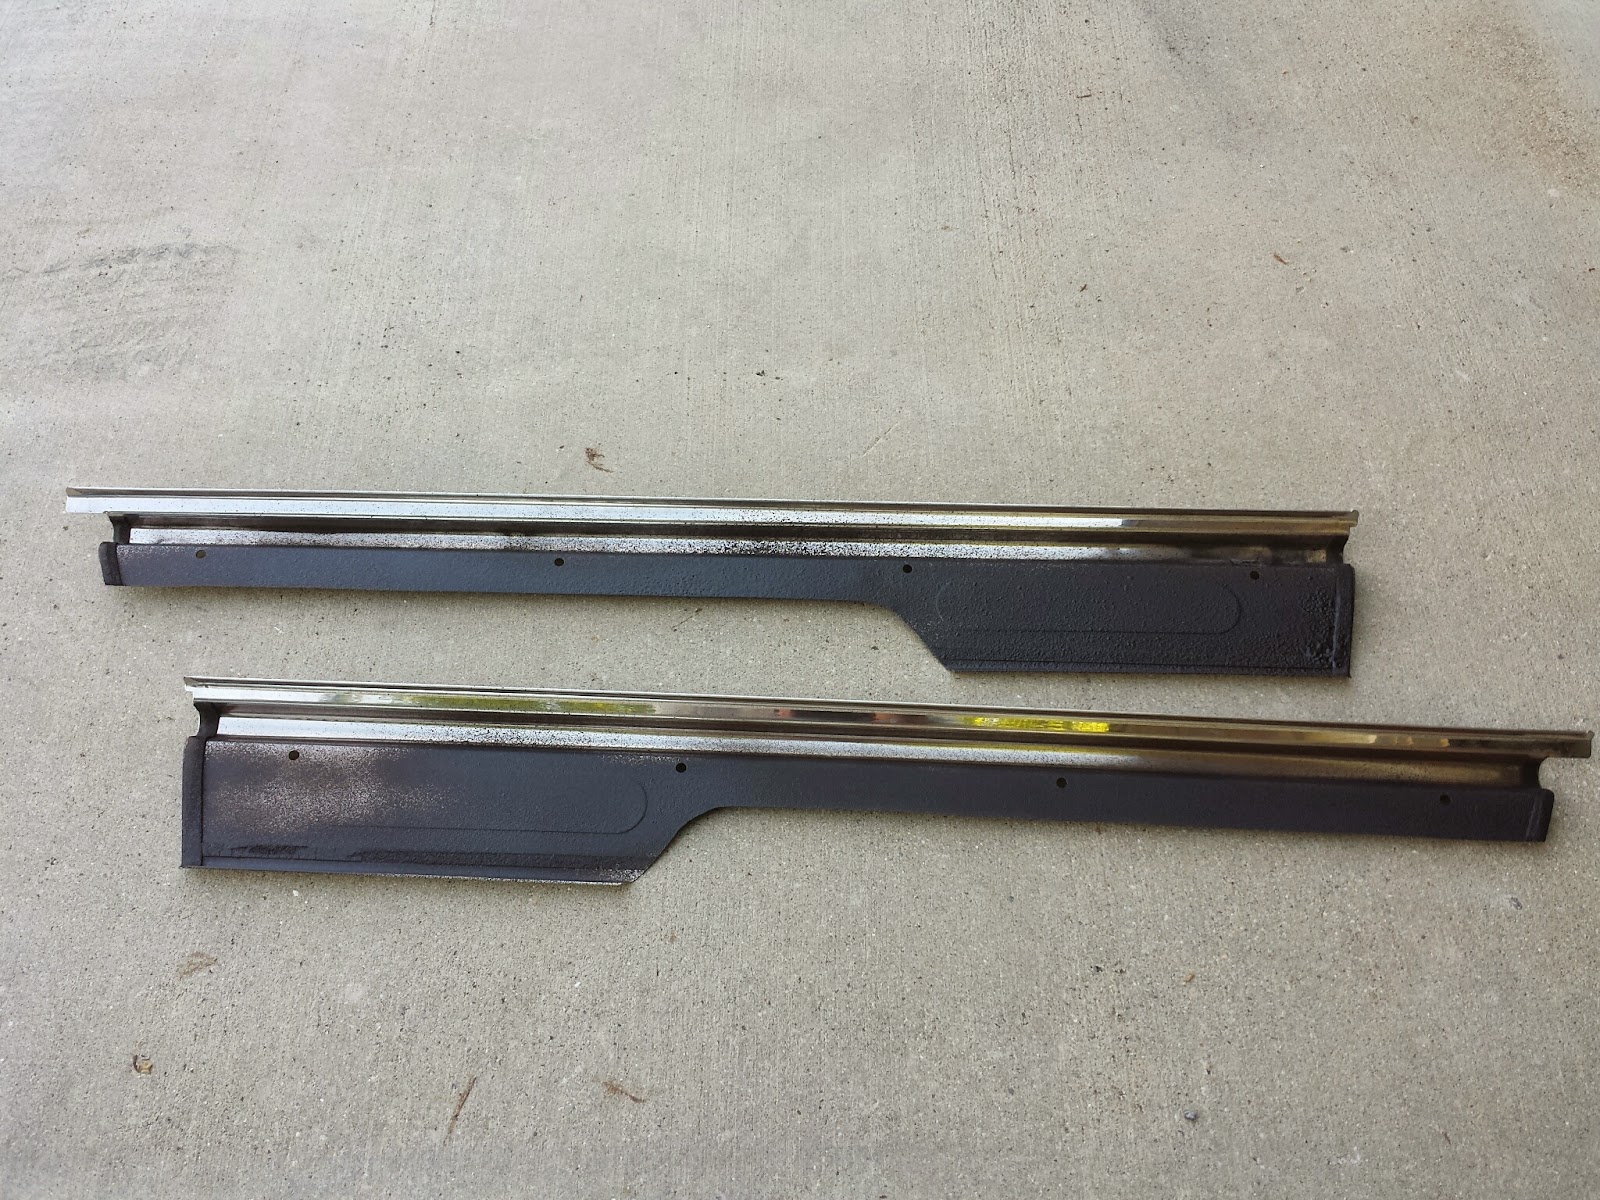
I decided where I wanted to cut and then trimmed them.  I had to keep the Miata script.

I cleaned up the cuts with a file and hit the back with some of the rubberized undercoating to try to prevent them from rattling.  They previously had some double stick tape in addition to the screws.

After a lengthy drying period, I reinstalled everything.
Weight Savings:  8 oz.
After