
Showing posts with label refinishing. Show all posts
Showing posts with label refinishing. Show all posts
Tuesday, May 15, 2018
Previous Paso Pekema Projects
Thursday, March 26, 2015
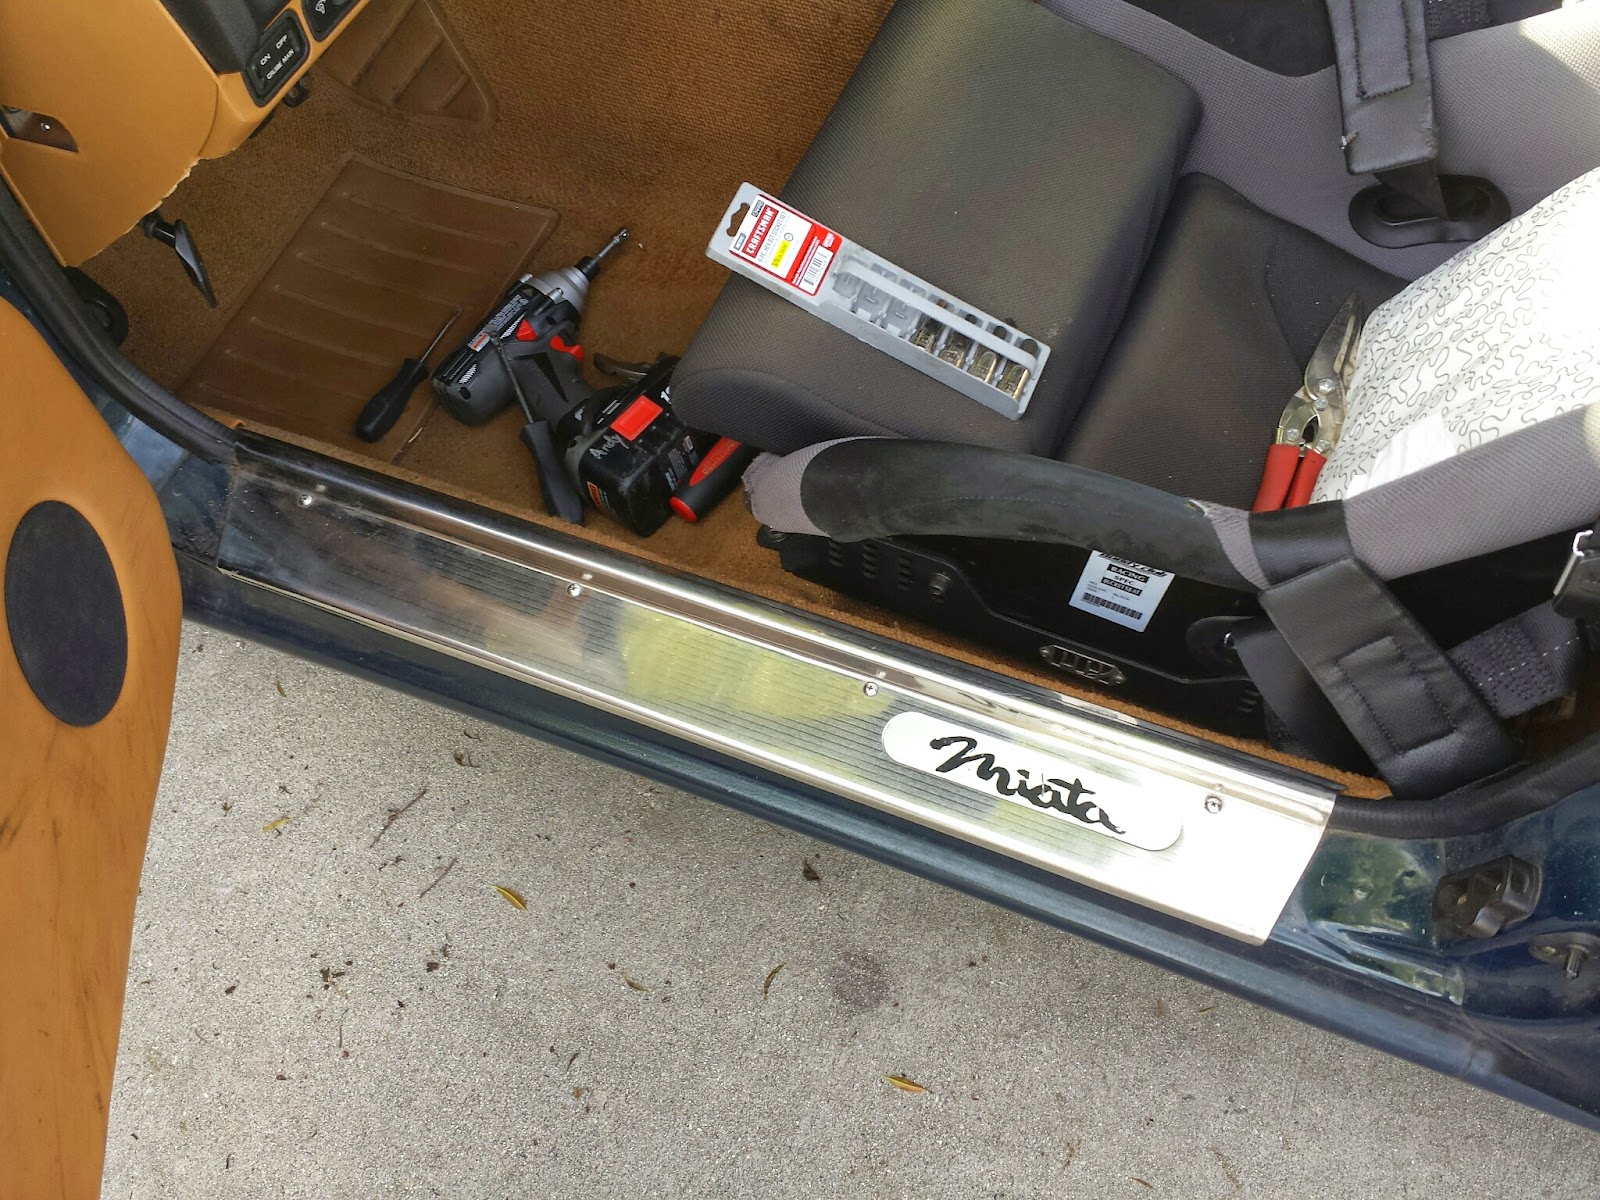
Slimming Sill Slabs
 |
| Before |
I decided where I wanted to cut and then trimmed them. I had to keep the Miata script.

I cleaned up the cuts with a file and hit the back with some of the rubberized undercoating to try to prevent them from rattling. They previously had some double stick tape in addition to the screws.
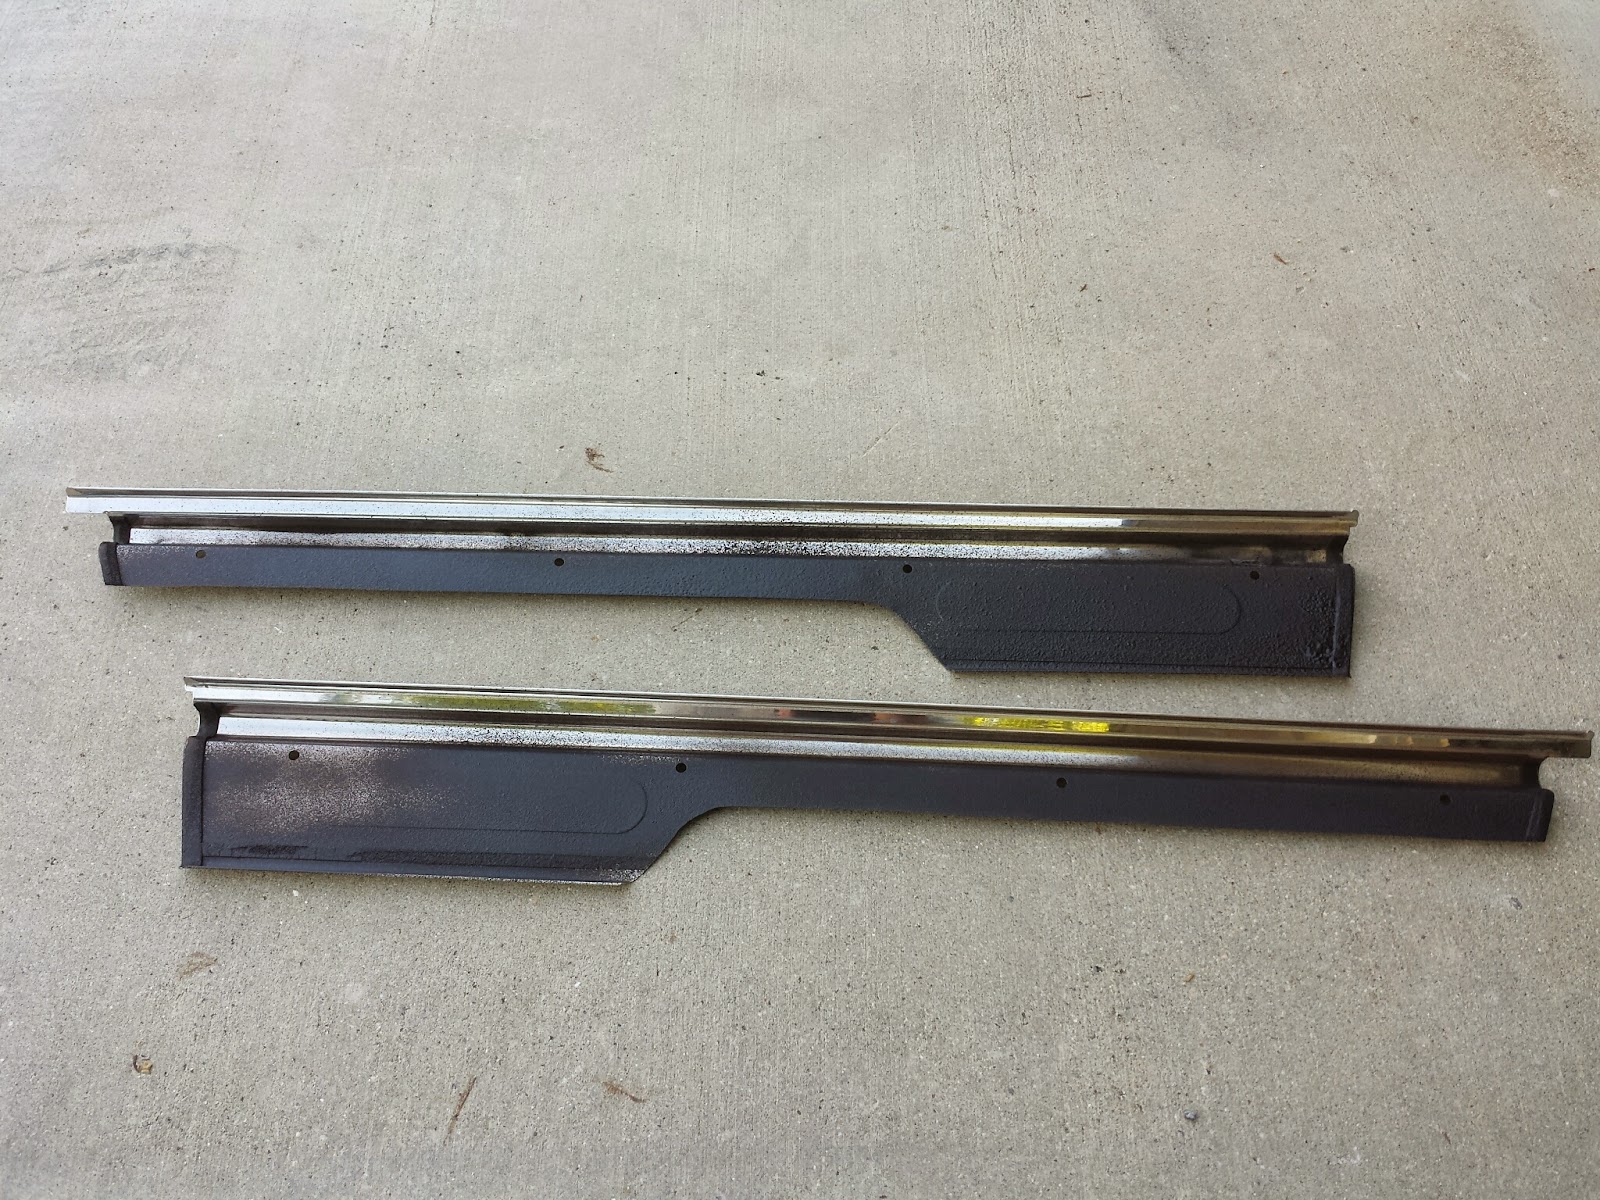
After a lengthy drying period, I reinstalled everything.
Weight Savings: 8 oz.
 |
| After |
Wednesday, March 25, 2015
Rowdy Rattle Reduction
Don't confuse this post with my previous prattle about a rattle; they are separate but equal.
 |
| Before |
The interior of the Miata is not a very quiet place. The unmuffled exhaust is one thing, but sometimes with the roof on, it resonates just right, creating an obnoxious rattling. I was pretty sure the source was the metal panels that separate the passenger compartment from the fuel tank. Normally, they have carpet covering them, which would damp out most noise, but our car doesn't have any of that. It was sacrificed to the Roll Bar and Light-Weighting Gods.
I had to figure out a way to add some damping in another way. I started by removing the panels.
 |
| Before |
 |
| My giant shoe is included for scale. |
When I removed the big panel, I realized it wasn't really needed, which I had heard before. There is another layer of metal between the gas tank and the passenger compartment, so I decided to leave it off.
Weight Savings: 4 lbs, 7 oz.
To perform the damping, I used rubberized undercoating. It sprayed on pretty nicely. We'll see how it works. I will reserve judgement for when I've driven the car a few times.


The gold screws did not go with the new black motif, so I stuck them in some cardboard and spray painted them.
I tightened down all the newly painted screws on the two panels I was keeping and was done.
I also put a coat on the mating surfaces in the car.
After coating, there was still some play in the panel that seemed like it could make noise, so I put a few layers of duct tape down to keep everything more secure.
The gold screws did not go with the new black motif, so I stuck them in some cardboard and spray painted them.
 |
| Before |
 |
| After |
 |
| After |
Saturday, January 12, 2013
A Street Table Called Desire
Andy and I found a sad little table on one of our evening strolls. We thought we would drag it in all of its pitifulness back home to see if we could salvage it. I can't however locate ANY of the before pictures. I know, why even blog???
Ugh. I'll try and paint the picture. Our TV was sitting on a dining room table which screams college and since we aren't in college anymore, this just wouldn't do. In comes sad little table. It had been spray painted brown and yellow missing hardware and was in very poor condition.

I removed a shelf, sanded the living daylights out of it, primed and painted.


 The color isn't very exciting but I was in a time crunch. To finish it, I threw on some fancy new knobs and voila!
 Much better.

Ugh. I'll try and paint the picture. Our TV was sitting on a dining room table which screams college and since we aren't in college anymore, this just wouldn't do. In comes sad little table. It had been spray painted brown and yellow missing hardware and was in very poor condition.

Subscribe to:
Posts (Atom)