Monday, February 2, 2015

Seat Belt Switch

Chrissy told me she was tired of hitting her head on the roof whenever we hit big bumps in the Miata, so she wanted four-point harness for the passenger seat, like the one on the driver side.  I started looking for a racing seat and a harness.  I got super lucky with the harness, and found a fellow on Craigslist selling a pair of harnesses nearby in Redondo Beach.  I only needed one, but his price for two was what I expected to pay for one.  Plus, they were black, and it would be nice to have a matching set in the Miata.  I was never a big fan of the blue one the car came with.

I planned to wait until I found a racing seat for sufficiently little money, but I decided to see how the harness felt going around the stock seat.  It seemed reasonable, so I decided to commit.  I unbolted the seat and started removing the stock seat belt components.  This big bar was first to go.  It tied the buckle into a solid point on the chassis.

With just two bolts on the bottom and some appropriate wrapping around the roll bar, the harness was installed.

The stock seat belt was proving a little difficult to remove, so this is all I was able to get out the first day.

One of the problems I was having was with this bolt.  On the driver side, it appeared it screwed into a captive nut, but on this side, it just spun, and there was absolutely no way to hold the nut on the other end.  I messed with it for quite a while, but finally gave up.

My other problem was the retractor was trapped in its little nook by the roll bar.  I didn't want to unbolt the roll bar, so I had to get creative.

The answer to both problems ended up being the same:  Sawzall.

Look how clean it is now!

There was a significant amount of struggling to get the retractor out, but I got it.  The roll bar got a little scuffed up, but it will still do its job.


Here's the rest of what came out.

Normally, it doesn't take this many tools to remove a seat belt.

At this point, I thought I was done, but after one drive with the new belt, it was clear something needed to change. It was slipping off Chrissy's shoulders, which is a big problem.  I again thought of a racing seat, but my inner cheapskate tried to think of a cheaper solution.  All I needed from a racing seat was the holes for the belts to go through.  Why not just add holes the the existing seat?  They even have a basic template where the speakers used to be.
We both sat in the seat and marked where the tops of our shoulders sat.

Then I started cutting.

 And some test fitting.  It looked like it just might work.
 

When I was happy with the holes, I did some quality tape work.

And installed it in the car.  I didn't take pictures, but the back is similarly taped.
We haven't done much testing yet, but this seems to work perfectly.  I will report back if there are any issues.  I'm a little surprised I haven't seen this done before.  A little searching shows people are really paranoid about four-point harnesses.  I'm all for safety, but they seem a bit crazy.

The final task was to replace the driver side, which looks much better with the black harness.
Before
After
Weight Removed:  6 lbs
Weight Reinstalled:  2 lbs, 7 oz

Friday, January 30, 2015

Tow Hook Hijinks

Before
The Miata had a heavy duty, steel tow hook on the rear passenger side, but it was not needed since I have a fancy aluminum one on the driver side.  Sorry I don't have a picture of that.
It was easy to remove with two bolts and two nuts.
After
Here's what came off.

Weight Savings:  1 lb, 11 oz.
I also got to weigh the car again and it was 2220 pounds with a full tank of gas.  I'm making good progress toward my 2200 pound goal.

Wednesday, January 28, 2015

Living Lights

If you didn't know, we got a free piano from a neighbor.
You didn't think we would leave the living room out of the recessed light party, did you?
We didn't.  We put in two lights toward the east end of the room, which really brightens up that corner.  We also reconfigured the switches in the room.  One switch no longer controls all the lights in the room as well as an exterior porch light.  We rewired a switch that was controlling an outlet to now control the porch light.  It's another big improvement.

Tuesday, January 27, 2015

Sloppy Scale

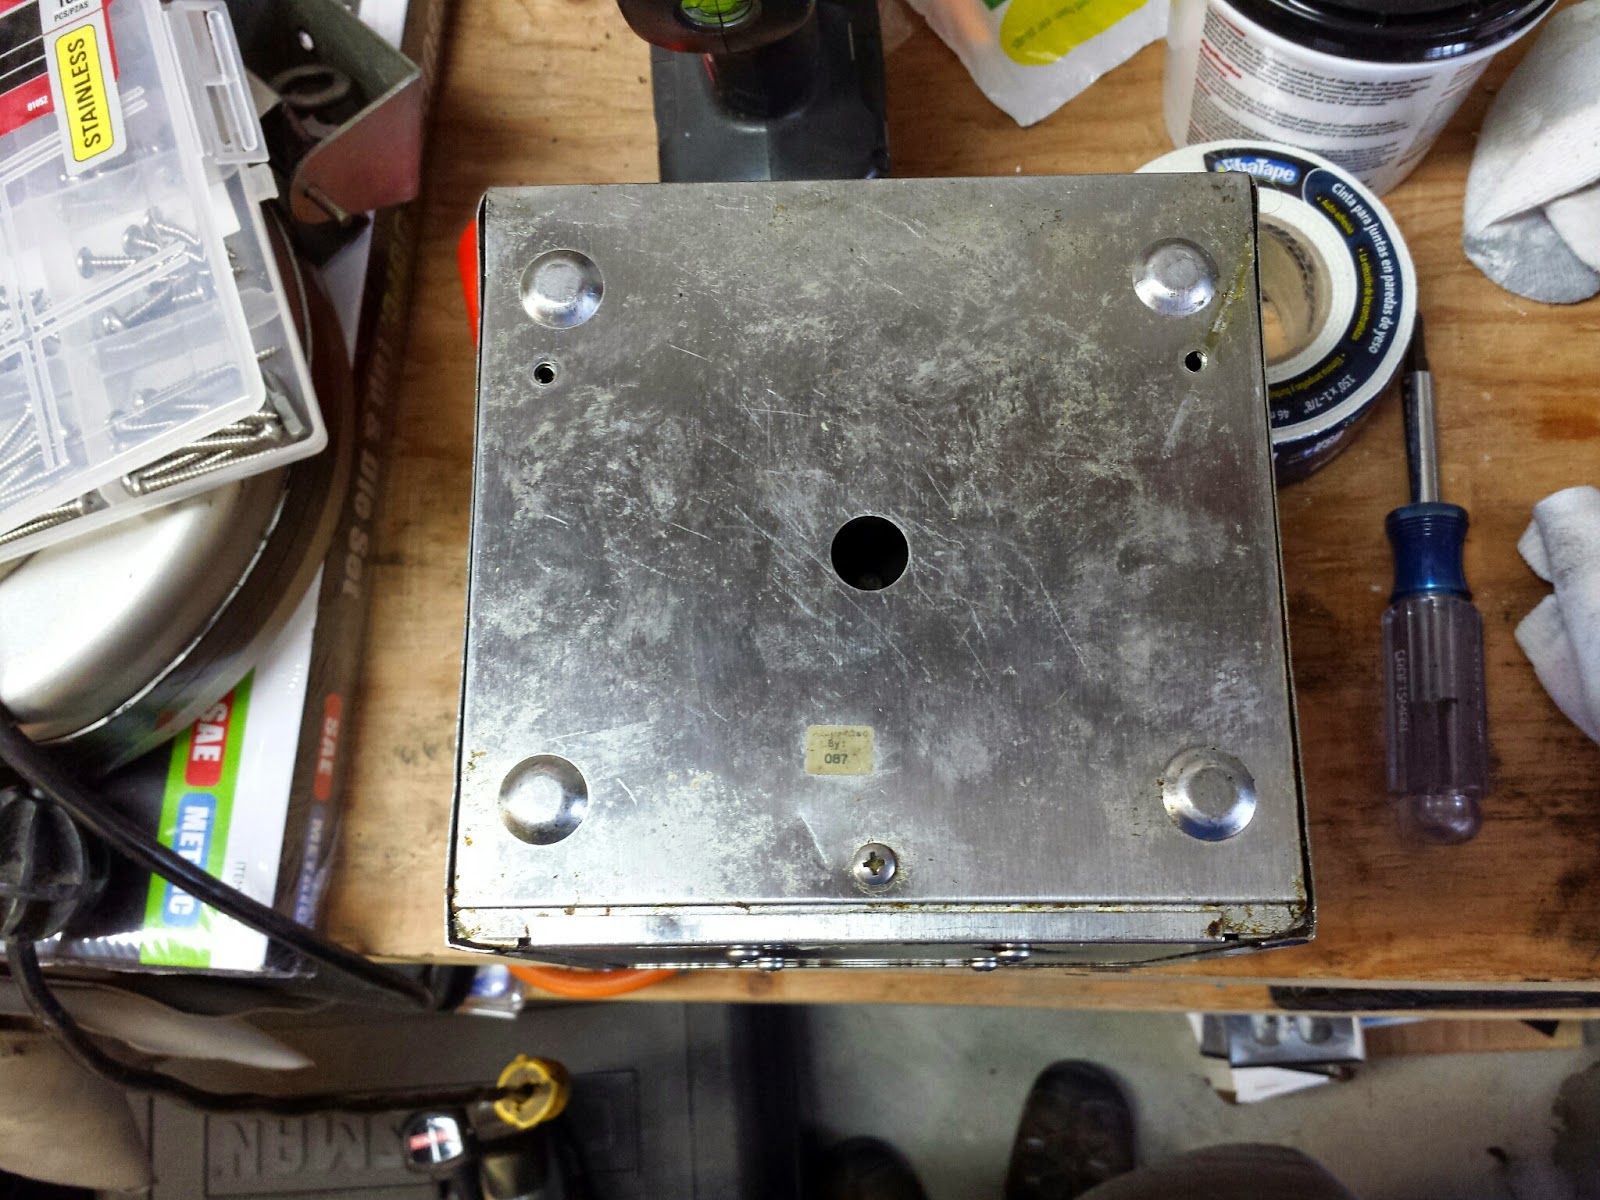
During some brotherly hijinks, I acquired a two pound scale.  Chrissy was tired of me weighing dirty Miata parts on our kitchen scale, so this will be a garage scale.  It was missing a couple screws in the bottom, so it was slightly falling apart.

Once again, my collection of stainless steel hardware came to the rescue.

Two screws and everything was solid.

Sunday, January 25, 2015

Ditching Dim Dining

Our dining room had no ceiling lighting whatsoever, so we used a lamp in the corner to dimly light the space.  It was meant to be a temporary solution, and 2+ years after owning the house, we have finally moved on.  The first step was done in conjunction with the kitchen lighting, and involved installing two recessed lights along one wall.

The next step was installing a chandelier above the table.  Here's Chrissy unwrapping our custom, handmade, US built light.
Can you feel the suspense?
Since there was no lighting before, I had to go in the attic AGAIN and install a heavy duty receptacle for the ~30 lb light.

I then had to wire it up.  We used an existing switch next to the hallway door that previously controlled one random light.  That light is now on the kitchen switch.

We then tried to mount it and discovered the bolts that came with the light were too short.  Luckily, I had a fine selection of stainless steel machine screws on hand, so I was able to grab a longer version.

And here's the final result.  This light is actually a used wine barrel, transformed into a six-light chandelier.  It is really cool.  I considered trying to make a version of it myself, but it made more sense to just buy it.  After it arrived, we discovered it came from Paso Robles, near my hometown.  The company that made it is Wine Country Craftsman.
Original bulbs, with camera flash.
The light was a little too dim, so we bought some brighter LEDs on Amazon.  They are very nice units that actually fit in with the look of the light.  Instead of the absurd 12.5W incandescent bulbs that came with the light, the LEDs consume 3W and produce the equivalent of a 30W bulb.
New bulbs, with flash.
Here's the brighter bulbs without the flash.  We really like the shadows the chandelier casts.
New bulbs, no flash.
Here's what the room looks like overall.  We are very pleased with how it turned out.  The different "temperature" of the chandelier lights kind of separates the actual dining area and makes it feel special.

Thursday, January 22, 2015

Dash Dissection

Before
Since I removed the glove box and some driver side panels, there's quite a bit of unnecessary material in the Miata's dashboard.  The main inspiration for this project was to improve passenger knee room, but it would also save weight, so it's a win-win.

I started on the passenger side, removing as much plastic as feasible.  I am trying to keep the interior somewhat livable, but lighter and simplified.  After removing some plastic, I discovered there was a lot of unnecessary metal connected to the dash beam.

I relocated the ground (with stainless hardware) and cut a off a reasonable amount.

Here's what I removed from the passenger side.

And here's what it looked like afterward.  Sorry about the poor lighting.  This picture is from a low angle.  From normal eye level, it looks really clean.
After

The driver side was a bit more complicated.  I had some switch gear to work with, and a lot more wires to avoid.
Before
I started by hacking off some plastic, which revealed quite a bit of unnecessary metal, which I began attacking with the Dremel, but quickly switched to the Sawzall.  You might notice the hood release lost it's attachment point.  I wedged it in a new place against the side of the car.  Hopefully it doesn't rattle.
Plastic trimmed. Metal in place.
After
Here is everything I ended up removing.
Weight savings:  3 lbs
This was a pretty miserable project.  Lots of cramped spaces and awkward angles.  It would be much easier if the dash was removed from the car.  There's probably a lot more stuff that could be removed with the dash out, but that is something I don't want to deal with at this point.

Sunday, January 18, 2015

Kitchen Illumination

The lighting in our kitchen left a lot to be desired.  It was an old fashioned look with gross plastic panels that lowered the ceiling.  There were four fluorescent light fixtures mounted up there, but only two or three would work on any given day.  They also made a miserable buzzing sound.  I'm not sure why we didn't do this sooner.

We pulled out the plastic and it was clear this area was not pained properly.  There was also lots of over-spray from when they finished the wood.  It looked pretty gross.

The next step was to removed all the wooden cross-pieces.

And then the lights themselves.

With the lights gone, we sanded the wood border, filled the holes and gave it a coat of primer.


After that, it was finally time to start installing the new lights.  We went with six inch recessed lights paired with LED bulbs.  We got lights with traditional light sockets so it would be easier to replace the bulbs down the road.  We don't want to struggle to find a special LED unit if one craps out.
Placed with extreme precision

After all the holes were cut, it was time to venture into the attic.  My basic knowledge of AC circuitry proved sufficient to wire the lights.

It got pretty tight near the edges of the house.  Notice the nails sticking through the roof, trying to kill me.  I love lying face down in filthy fiberglass with daggers hovering inches above my scalp.

Check out this precision install.  Got a six inch light in an eight inch gap, and the hole was cut from below.

While I was wiring up the lights, Chrissy made a zero electricity dinner with the help of our crank charged flashlight.

Here's the installed cans, with no bulbs.

And they worked!


There were several more coats of paint and texture applied, which dragged out the project.  In total I think we did five coats of paint!

 But the paint eventually dried and we could install the finishing trim pieces.
After
The end result is amazing.  It really opened up the room, especially for us tall people.  It's so nice having enough light in the kitchen.  It's also nice they don't buzz.
This project cost about $400 in supplies and quite a few hours of time.  I also estimate the time in the attic took about two years off my life.
Here's a before shot again, to remind you what it looked like when we started.
Before