Chrissy told me she was tired of hitting her head on the roof whenever we hit big bumps in the Miata, so she wanted four-point harness for the passenger seat, like the one on the driver side. I started looking for a racing seat and a harness. I got super lucky with the harness, and found a fellow on Craigslist selling a
pair of harnesses nearby in Redondo Beach. I only needed one, but his price for two was what I expected to pay for one. Plus, they were black, and it would be nice to have a matching set in the Miata. I was never a big fan of the blue one the car came with.
I planned to wait until I found a racing seat for sufficiently little money, but I decided to see how the harness felt going around the stock seat. It seemed reasonable, so I decided to commit. I unbolted the seat and started removing the stock seat belt components. This big bar was first to go. It tied the buckle into a solid point on the chassis.
With just two bolts on the bottom and some appropriate wrapping around the roll bar, the harness was installed.
The stock seat belt was proving a little difficult to remove, so this is all I was able to get out the first day.
One of the problems I was having was with this bolt. On the driver side, it appeared it screwed into a captive nut, but on this side, it just spun, and there was absolutely no way to hold the nut on the other end. I messed with it for quite a while, but finally gave up.
My other problem was the retractor was trapped in its little nook by the roll bar. I didn't want to unbolt the roll bar, so I had to get creative.
The answer to both problems ended up being the same: Sawzall.
Look how clean it is now!
There was a significant amount of struggling to get the retractor out, but I got it. The roll bar got a little scuffed up, but it will still do its job.
Here's the rest of what came out.
Normally, it doesn't take this many tools to remove a seat belt.
At this point, I thought I was done, but after one drive with the new belt, it was clear something needed to change. It was slipping off Chrissy's shoulders, which is a big problem. I again thought of a racing seat, but my inner cheapskate tried to think of a cheaper solution. All I needed from a racing seat was the holes for the belts to go through. Why not just add holes the the existing seat? They even have a basic template where the speakers used to be.
We both sat in the seat and marked where the tops of our shoulders sat.
Then I started cutting.
And some test fitting. It looked like it just might work.
When I was happy with the holes, I did some quality tape work.
And installed it in the car. I didn't take pictures, but the back is similarly taped.
We haven't done much testing yet, but this seems to work perfectly. I will report back if there are any issues. I'm a little surprised I haven't seen this done before. A little searching shows people are really paranoid about four-point harnesses. I'm all for safety, but they seem a bit crazy.
The final task was to replace the driver side, which looks much better with the black harness.
 |
| Before |
 |
| After |
Weight Removed: 6 lbs
Weight Reinstalled: 2 lbs, 7 oz


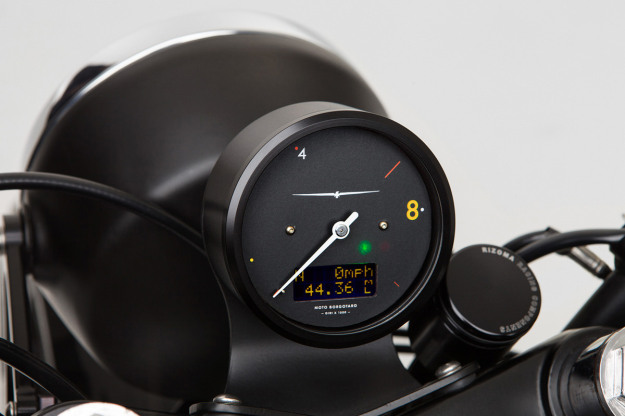

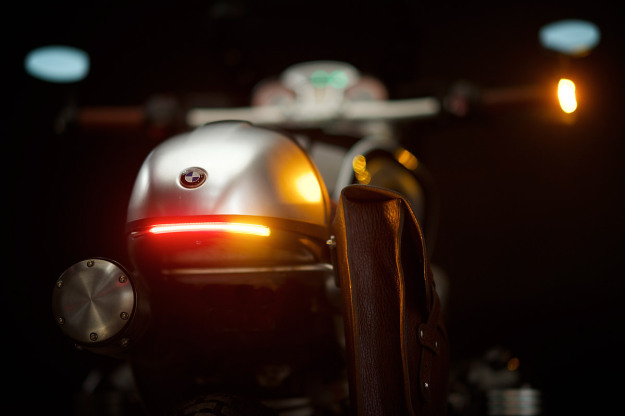 I really like the rear end and taillight on this bike.