 |
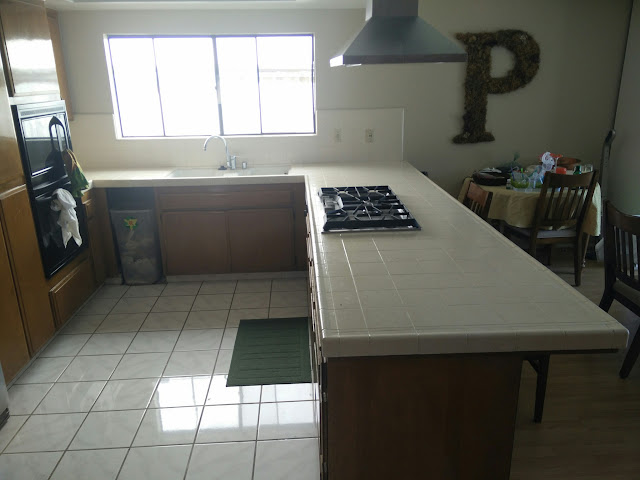
| Before |
I started the demolition with my trusty hammer, but it was slow going.

I quickly switched to a "landscape bar" and things went much faster.


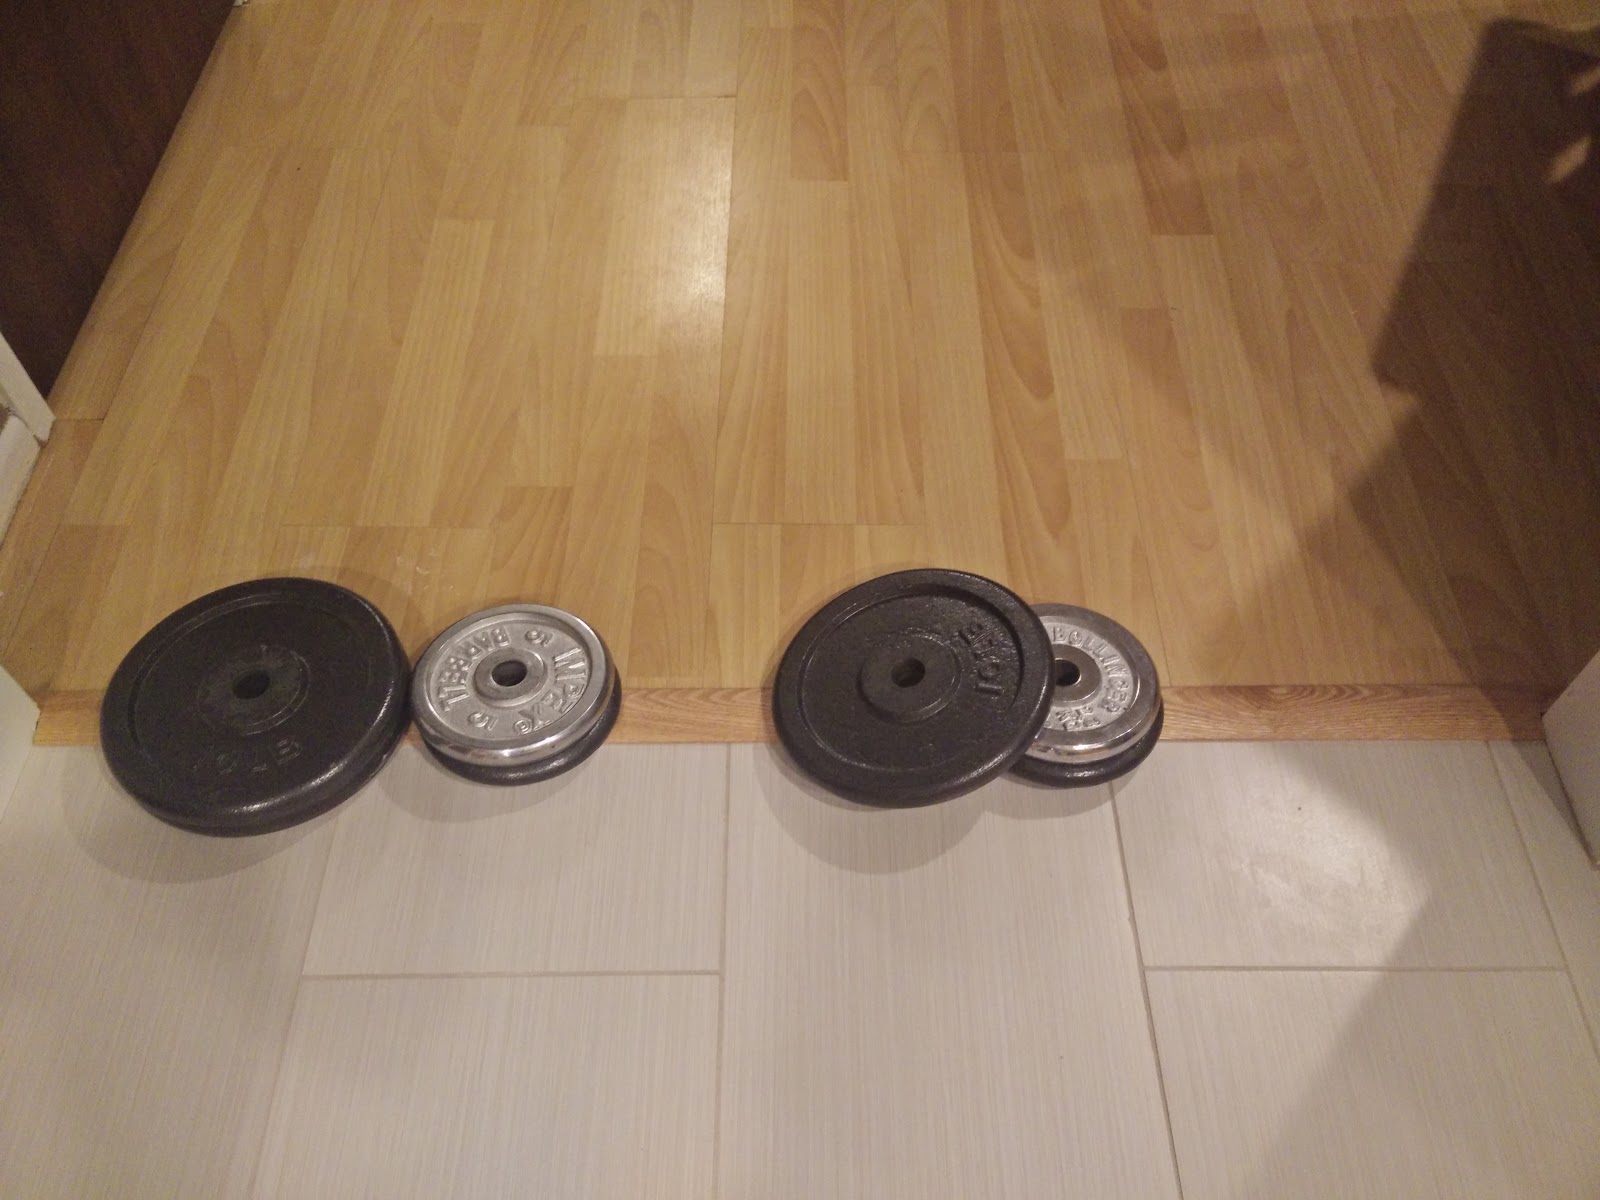
After filling the trash can with as much weight as was advisable, we had a nice pile leftover for subsequent weeks

The tile and thinset came up surprisingly cleanly, but there were some rough patches that I marked as I found them and eventually ground down with my oscillating tool.

Whoever installed the tile put a thin row of tile on the toe kick under the counters. I ripped that off, along with a thin sheet of plywood underneath.


Once we finally got around to laying the tile, we did a fairly intense dry-run to make sure we got the layout right.

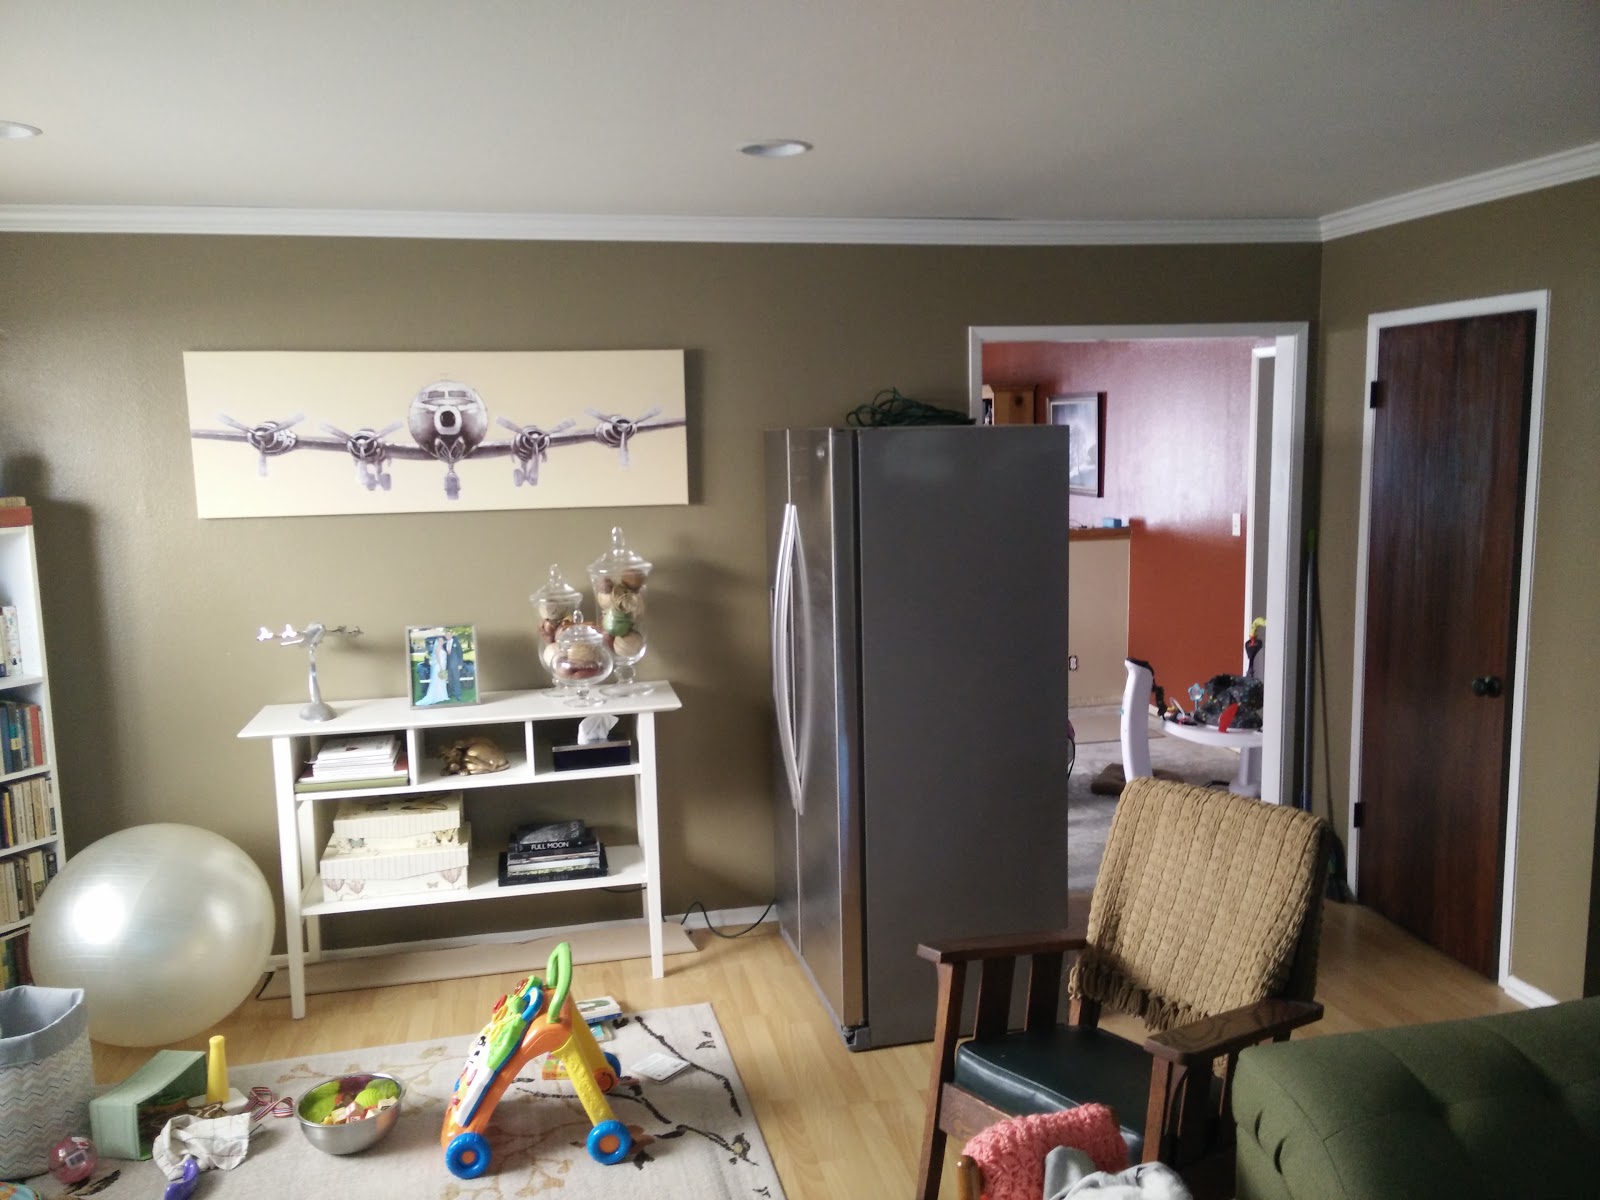
This is what our living room looked like when we were doing the tile. We actually got used to having the fridge there and would walk into the living room to get ice even after everything was back in place.
Laying the tile proved to be more difficult and time consuming than expected, but we did our best.


Unfortunately, we weren't careful enough about cleaning out between the tiles where thinset came up. That would have created a problem for the grout, so I got to go along every crack and grind it out. I used the oscillating tool with the diamond blade for the first pass, then held the blade in my hand and smoothed everything out on the second pass.


Once that was done, it was time for grout. Applying the grout was very satisfying. Sponging off the excess--not so much.


There was still a lot of trim to be installed. I started with some quarter round under the cabinets to cover the 1/8 inch gap we intentionally left all the way around.

There were also unsightly gaps between the tile and laminate, which I filled with real wood T molding.


The last step I performed was adding a bead of clear silicone between the T molding and the tile.


This isn't the best photo of the finished product, but you get the idea.
 |
| After |
If you thought that was the end of the story, you are sorely mistaken, because we also replaced the entryway tile at the same time, which was a lovely shade of green.


We laid the actual tile the same day we did the kitchen. It was really late when we finished the kitchen, and we were so relieved, until we remembered we still had to do the entryway. But we finished it and it looked pretty good.

I put down the same T molding as in the kitchen, along with some quarter round along the wall and under the door.


In the end it came out beautifully.
 |
| After |
Looks really good! Great use of the oscillating tool to clean between the tiles, big time saver.
ReplyDelete