Since I basically ran out of reasonable projects on the Miata, I decided to start going a little crazy. That means it's time to clean up my aerodynamics with a full undertray. I can somewhat justify this because the small factory undertray was missing from the vehicle, and because racecars have undertrays. As you can see above, I got three sheets of metal for the job. This post will cover the installation of the first 4'x5' piece under the front of the car.
The process started when I had the car on a lift at work and made some measurements and looked for potential mounting points. From there I went to the metal supplier and bought some scrap sheets of aluminum (24 lbs @ $2.35 per lb). They are probably a little thicker than necessary, but I want them to be sturdy.
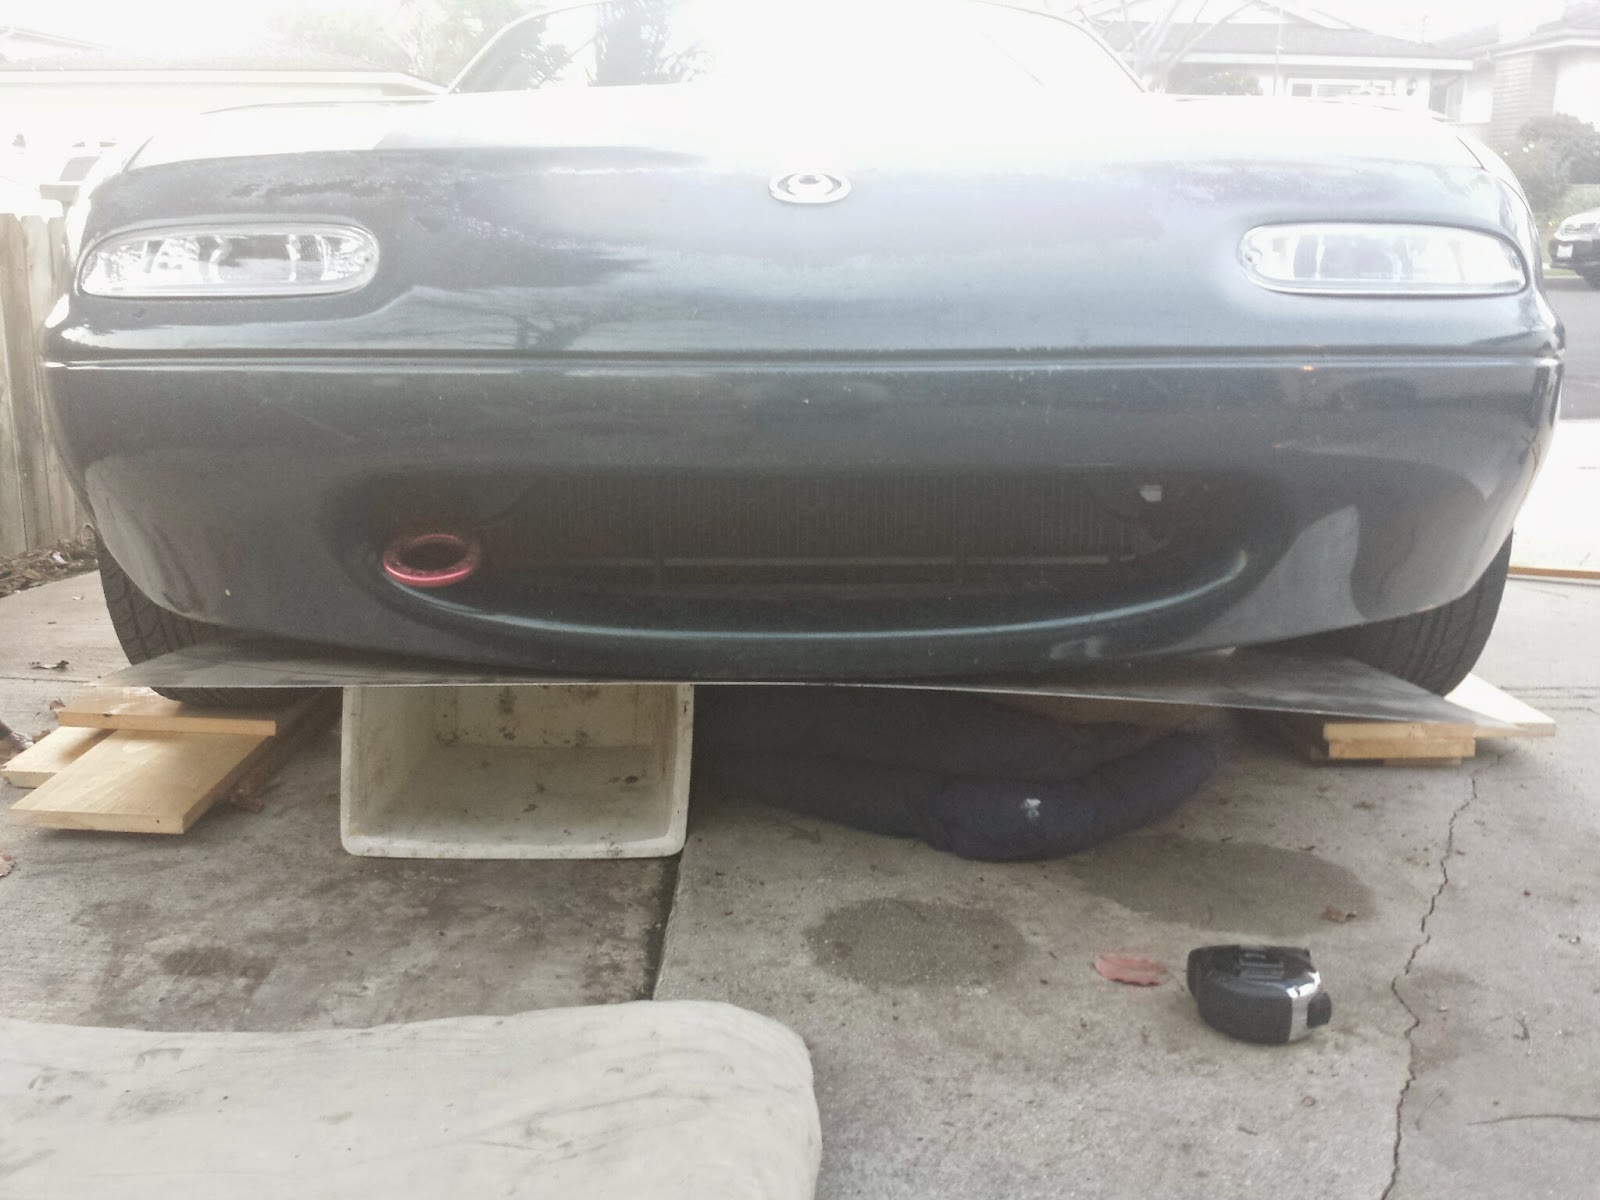
Construction began by jacking up the car, removing the splitter and wedging the first sheet under the front of the car, using whatever was handy.
I traced the curve of the bumper onto the metal and checked it against the splitter. It looked close enough. My plan was to sandwich the sheet between the bumper and the splitter. That would theoretically hold it very snugly and continue to allow the splitter to flex when it scrapes on everything.
I used my reciprocating saw to make the big cuts. Aviation (tin) snips were used for fine tuning. I planned to use the splitter to determine where all the front holes should be, but it was too flexible to give me any confidence.
To get a good idea where my holes should go, I needed to be able to put it into place on the car, but I couldn't lift it high enough because it was hitting the front lower control arms, so I made the first rough cutouts for wheel and suspension clearance.
I then put screws facing down through the bumper mounting holes, put the aluminum in place and tapped it with a mallet on each screw.
I marked each dimple to make sure I didn't mistake some random ding for a screw location.
After drilling, it seemed to line up well, so I did a test fit. This just might work!
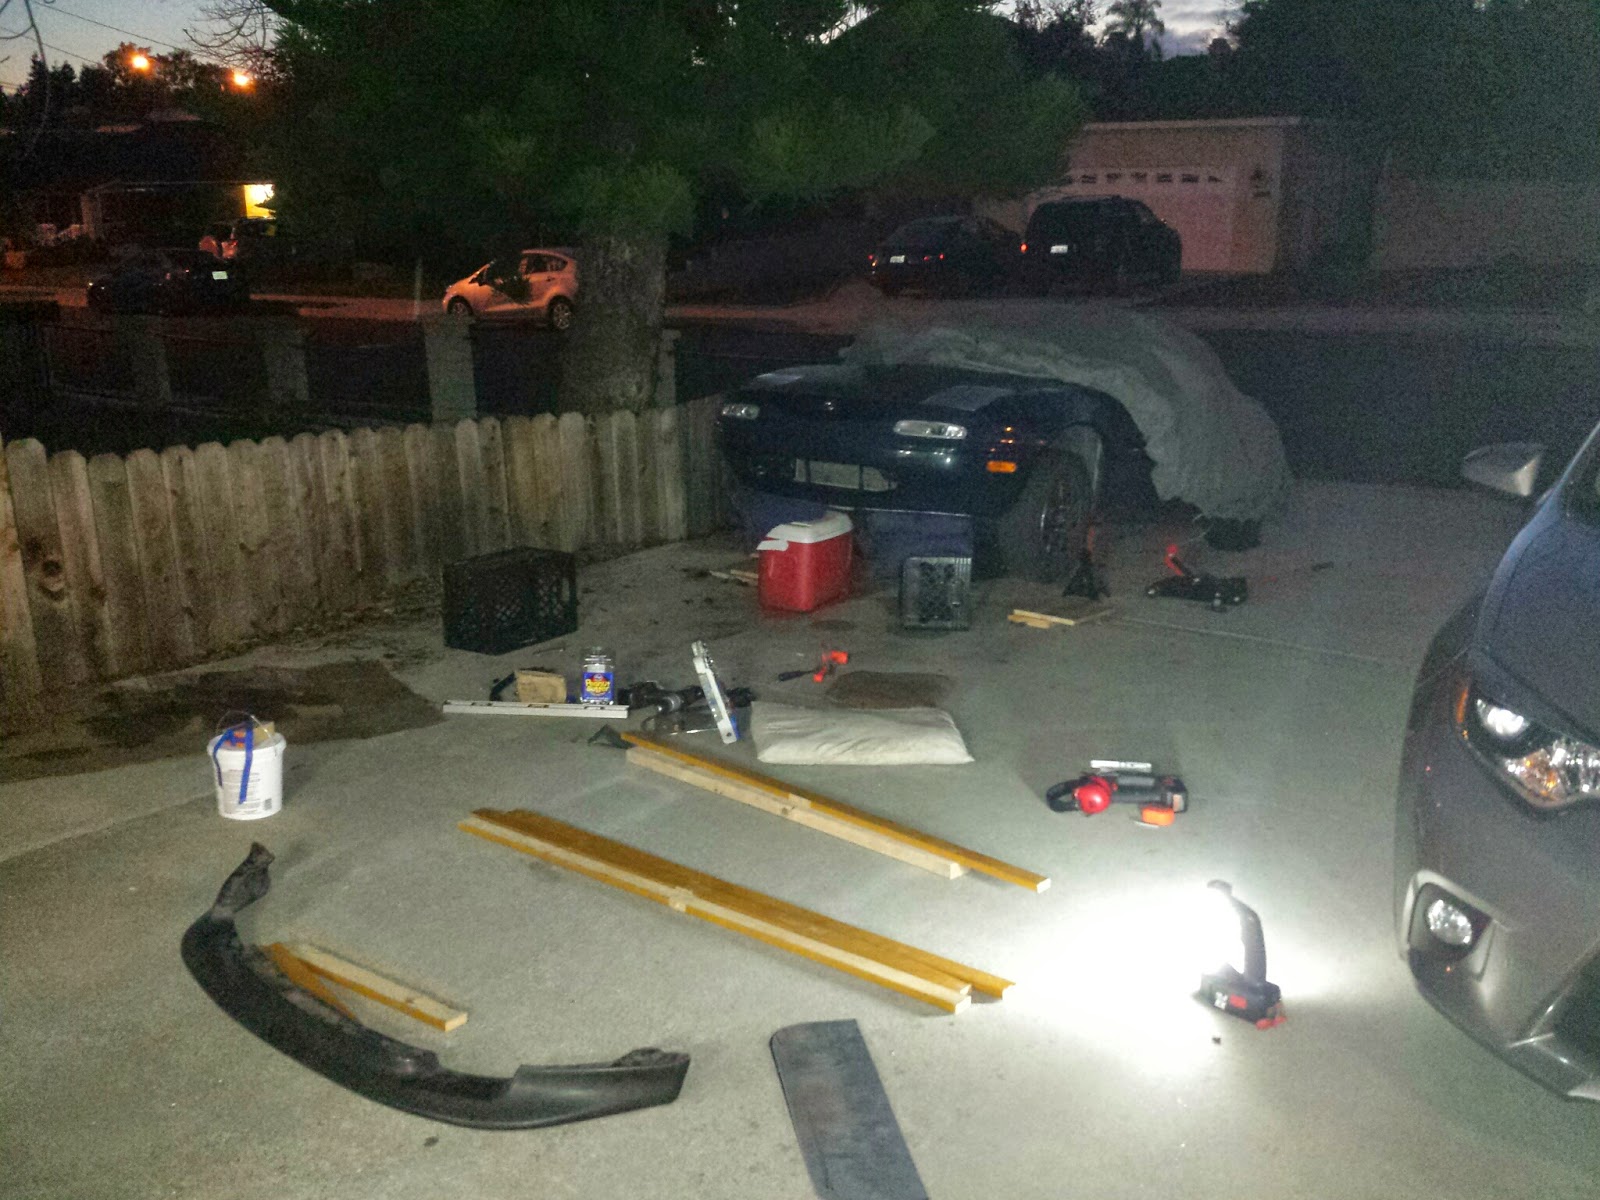
At the end of the first day, I had made a lot of progress, and made a much bigger mess than expected.
One important detail was getting the right hardware to mount everything. I used my new tap and die set to figure out the size of a captive nut I planned to use. The threads were in rough shape so I actually got this wrong. M5x0.8 is definitely different than M6x1.0. I took my incorrect information to the hardware store and proceeded to spend $50 (!!!) on nuts, bolts and washers. Be aware, M12x1.25, ultra-fine thread bolts are expensive--$3.68 each, and I got six. I got everything I could in stainless.
To finish the installation, I had to get the rest of the mounting points done, but they had to be accurate. First I installed the bolts with which I was going to mount the undertray. I then screwed the aluminum in place on the bumper, pushed it up against the mounting hardware then wailed (tapped) on the bolts with the dead blow hammer. This gave me divots exactly where I needed to drill holes.
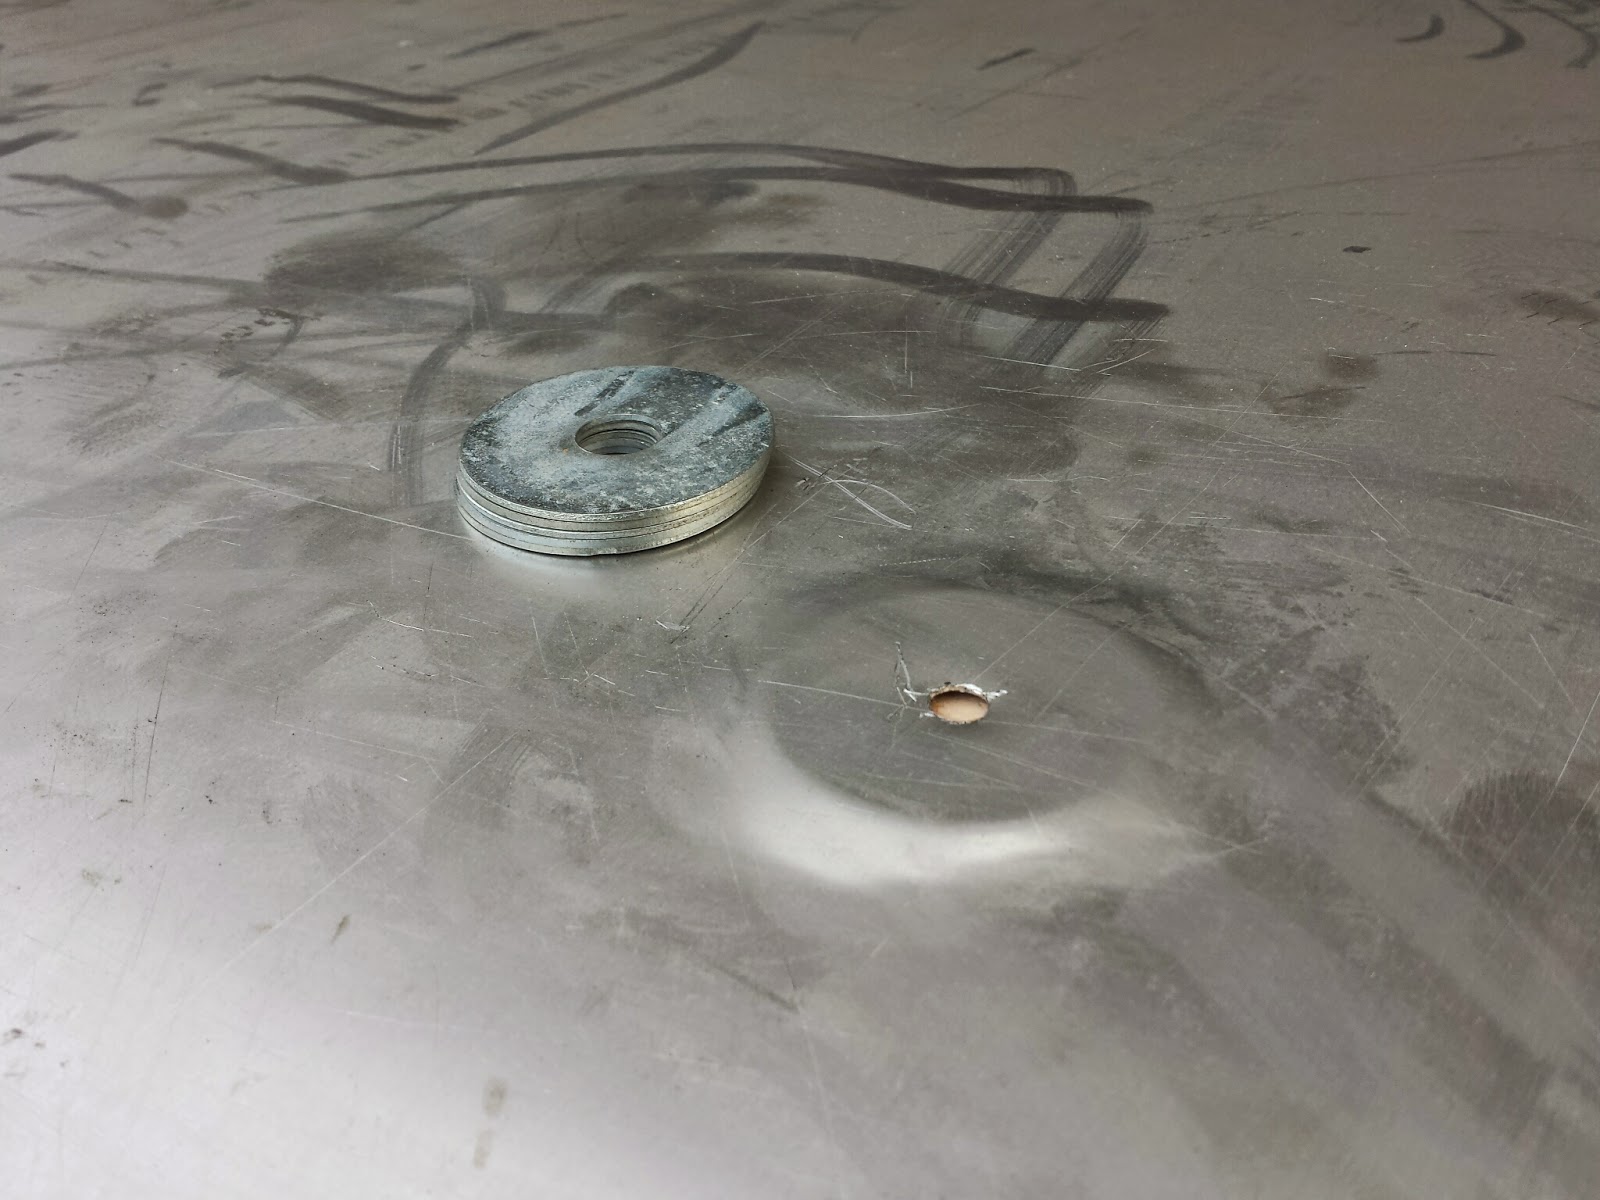
I drilled my holes and even made a boss for the middle mount with a stack of washers and the dead blow hammer.
One of my mounts was going to use a very beefy chassis brace bolt (the previously mentioned expensive M12x1.25), but it needed some spacers to work properly. I used a couple thick grade eight washers. I'm a little nervous about this setup, but I think it should be fine.
Here are a few washers I had to modify due to my M5 vs. M6 mix-up. I tried to use the largest possible washers to hold the aluminum. The goal was to spread the load as much as possible to avoid tearing the sheet metal.
Once everything was ready, I came up with the the genius idea of taping the bolts in place for installation. I couldn't really think of another way to hold the hardware on both sides of the large sheet.
Here's everything ready to slide under the car. I just noticed it looks like a giant smiley face. The mouth is the chassis brace I mentioned.
All the bolts lined up perfectly. I say it was my fabrication skill, but it was mostly luck.
Now I needed to check if the splitter would bolt on. It wouldn't. I did a little trimming and bending; then it fit.
It was now time for finishing touches.
 |
| Tire clearance is important. |
This is the final shape. The wings at the back didn't really do anything, and there is nothing to mount them to.
Here's the finished product. I installed self-drilling screws into the frame rails at the trailing edge. I might replace them with rivet nuts someday, but they were a good way to do the initial install, since they ensure the holes are aligned. I will probably add a cutout to make oil changes easier, but that should be simple.
We did a test drive and heard some rattling, but nothing serious. I might try some sound deadening coating at some point, but it's not urgent.
This view looks very different now. I was a little concerned with building up a lot of pressure underhood, and some people mentioned retaining excessive heat in the engine compartment, but there is quite a bit of room for air to escape around the suspension and through the wheel wells. I'm thinking about adding some better flow paths with some hood vents.
For reference, here's the commercially available version of what I made. It's a little hard to tell, but mine covers significantly more area and cost significantly less. This one is $236, while the cost of my materials to do the entire length of the car was about $110.









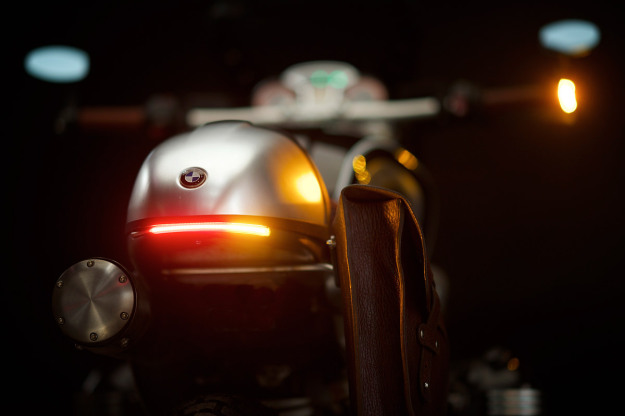 I really like the rear end and taillight on this bike.

