 |
| Before |
We've been through some trials and tribulations with our guest bathroom counter, but we've finally got it sorted out.
It started as an old 70s solid surface that was yellowing badly, so Chrissy tried painting it and sealing it with poly-acrylic, which the internet said would work, but didn't. The poly bubbled after water sat on it. It would probably have held up better if we just used polyurethane, but I'm not sure if that would have gotten along with the paint.
When it was clear the painted surface wasn't going to work, we tried sanding it down, but that was miserable and the counter looked like hell, so we finally bit the bullet and decided to replace the counter.
We started by going to Home Depot and pricing out several options there. The numbers were way too high so we stewed a while. We eventually found an installer on Craigslist and had him give us a quote. The price was $1,000. It wasn't cheap, but it was a lot better than any other option.
Before committing, I briefly considered doing everything myself and potentially saving half the cost (I have a diamond blade now, after all), but I don't have the tools or expertise to cut holes or radiuses in the material and polish the edges, so we would need to use overmount sinks. In the end, we decided undermount sinks and not having to deal with it were worth the extra cost.
Here's one more "Before" shot.

Before the installer would even measure, he wanted the old counters removed, so I invited my brother to come help with the destruction. The first step was disconnecting the plumbing so we could pull the old counters, sinks and all.

The back-splashes came out without too much drama, but we did have to be careful not to hurt the mirror.


The installer measured on a Monday, installed our new quartz counters on Thursday, and it looked great. I just needed to install the faucets, which we were reusing from the old counter.

With the counters removed, uninstalling the old faucets was much easier.

But still not as easy as I would like. I had to buy a set of special low-profile sockets to get the this giant nut off.


Unfortunately, the socket wasn't low-profile enough, so I had to grind down the corners.

Once everything was off, they went for a soak in some CLR because everything was pretty calcified.

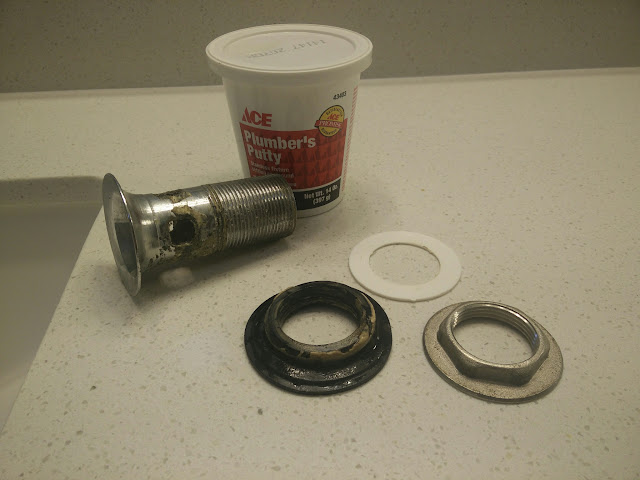
The new sinks didn't have drains, so I also had to remove the old ones for reuse.


I discovered the old drains had way too much plumber's putty on them, which was contributing to our drainage problem.

When reinstalling them, I used a much more appropriate amount.
Unfortunately, the drains on the new sinks did not align with the old plumbing, so I had to use these flimsy accordion style pipes. I would have liked to use something more substantial, but this was pretty much the only easy option at Home Depot. This also forced us to eliminate the pop-up stoppers, but that isn't a big deal because we weren't using them anyway.

Once the drain was under control, it was back to the faucets. A little more time with CLR cleaned everything up. I also bought a bunch of new washers because the old ones were shot.
The handles were a pain to install, but only because of the awkward position behind the sink.


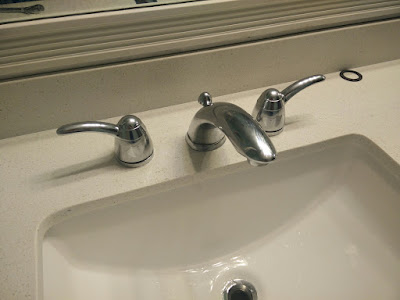
After a lot of swearing and adjusting a couple leaks, it was finished, and we love the end result.
 |
| After |
 |
| After |
The best part of the project was smashing the old counter so it would fit in the garbage can.

No comments:
Post a Comment