

This post has been a long time in the making. As you can see in the photos above, the front doors on our house were in pretty sad shape on the outside, and very golden on the inside. We wanted to do something about that for quite a while, but replacing them would be very expensive and refinishing them would be very unpleasant, so for a long time we did nothing. That changed in March of 2015 when I finally pulled the doors off the hinges and started sanding.
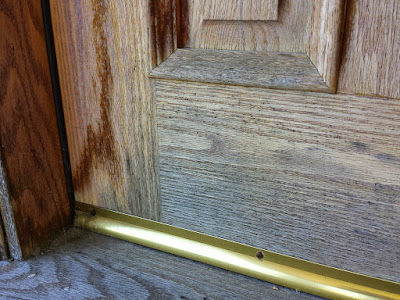
Here's a couple closeups of the sad state of the door.


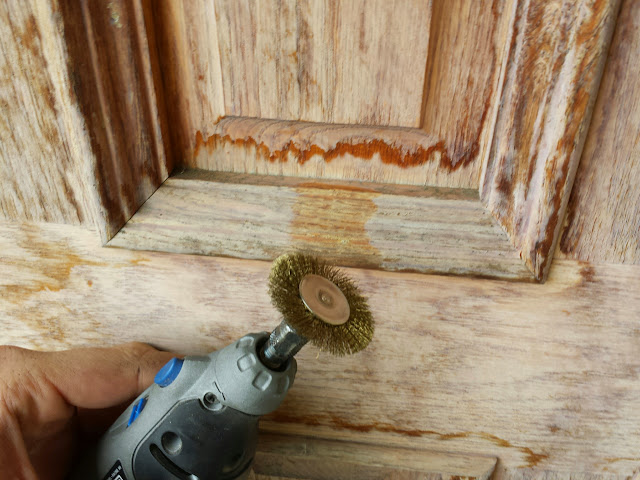

The problem was, they still weren't stripped enough to stain, and we didn't want to do any more sanding or stripping. We also didn't want to cover up the beautiful wood with paint. Luckily, we discovered a nifty product called gel stain. It can go on over other finishes without miserable stripping, like we did on all our interior doors. So in August of 2016, we finally got back on the project and applied some of the gel stain on a couple test areas after a light sanding.

Satisfied with the test areas, we proceeded to stain the rest of the doors. Unfortunately, the first pass came out a little uneven. The gel stain is a little tricky to use, so don't judge us.
We eventually knocked down the dark areas with steel wool to even things out.
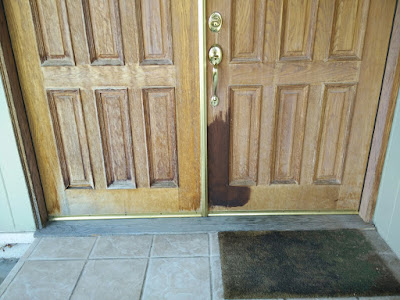
We also put a couple coats of exterior rated clear finish on the outside of the doors to help protect them.
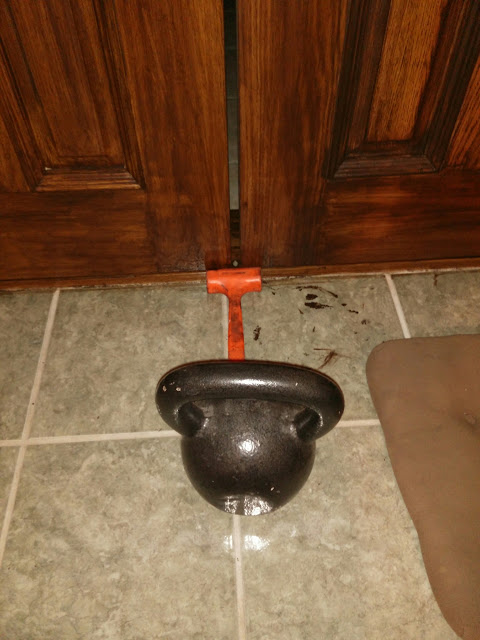 |
| High security. |
At the same time we stained the doors, we also spray painted the hinges, center "astragal," and bottom pieces flat black. We weren't sure that would work, but it seems to be holding up well.


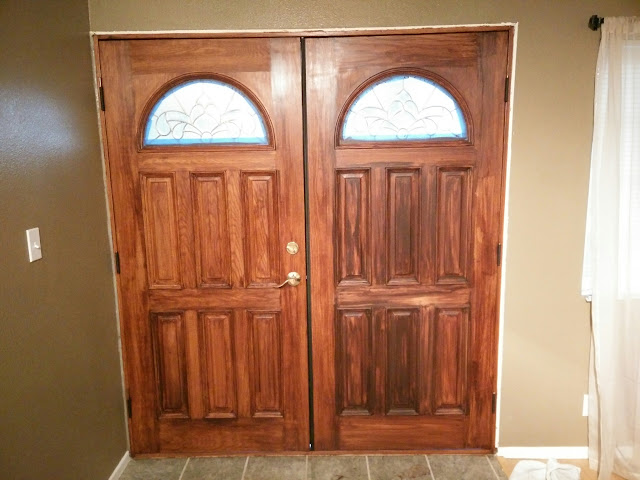
Last but not least, the interior trim was also updated to something more sensible.

Here's one more Before and After.
No comments:
Post a Comment