 |
| Before |
 |
| Before - The walkway looked pretty unfinished. |
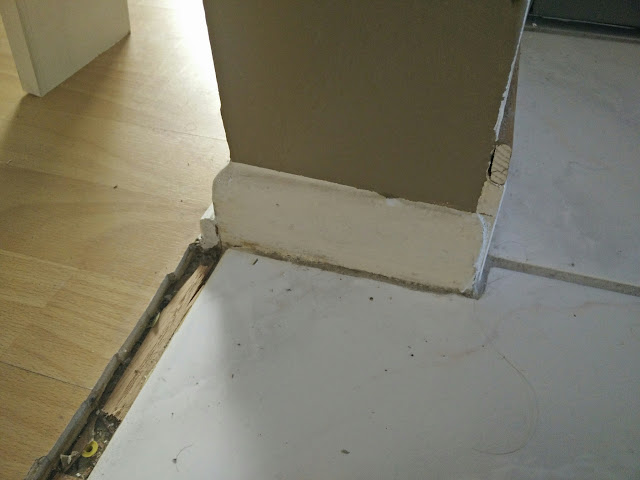


The next step was to prep all the trim. I had to rip down the main boards then soften the corners with some sand paper. After that all the trim got a couple coats of bright white paint.

The top board went in with a couple shims to level everything out.


Next came the actual trim boards. After everything was nailed up we filled the nail holes and touched up the paint.
We were able to find a perfect match for all the other trim in the house thanks to Moldings Unlimited. In the end, it looks much better. As usual, Chrissy was right all along.
 |
| After |
 |
| After |
I definitely planned for the closet door to just barely clear the new trim.

In the final photos you can see some fodder for a future post. Stay tuned.
No comments:
Post a Comment