I was driving down the freeway in the evening and the cabin was getting hotter and hotter. When I finally parked, I felt the floor pan and it was too hot to keep my hand on. I was worried the gas was going to boil in the tank. Serious heat. That spurred an emergency removal of the center section in the parking garage. Not easy.
I took off all the belly pans for the big round of maintenance I did and they stayed off while I contemplated what I wanted to do to address the heat problem.
After staring at the underbody for a while, I decided I should make a heat shield to protect the body, driveline, and fuel tank from the exhaust heat, and hopefully reflect it downward. I plan to also cut a bunch of vents in the belly pan to let the heat out.
The heat shield started with another scrap sheet of aluminum about 3' x 5'. This was going to be a serious heat shield. The front would go above the catalytic converter and the rear would extend past the differential. It would put my pitiful sheet-metal skills to the test.
I needed to make a U-shaped channel in the sheet, with the front having a flat bottom to clear the cat and the rear being round to hug the exhaust pipe. I used a precision guide to get the correct radius.
After some man-handling, I had the basic shape.
Now I had to bend the sides back down to create the mounting flanges. I got two boards and clamped them where I wanted the bend.
With a little help from the trusty dead blow, the bend came out well.
The second bend went well too. At this point I was very pleased with how things were going. It looked shockingly professional and was going very smoothly. Unfortunately this is the prettiest the heat shield ever looked, because to get it to fit required quite a bit of "massaging."
Next I removed the rear portion of the exhaust and a chassis brace.
These photos of the initial test fit should give you a better idea of what the heck I was doing.
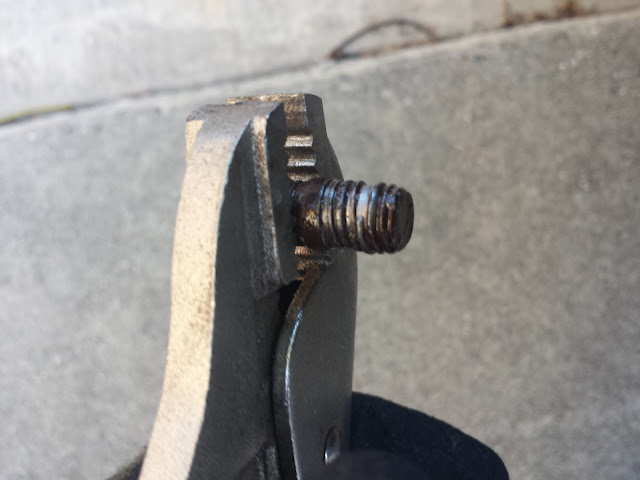
As expected, the fasteners did not want to cooperate.The first one came out without too much of a fight, but it did destroy its threads. The second was a bastard and forced me to work for it.
 |
| I don't think threads are supposed to look like that. It could be a weird Japanese pitch. |
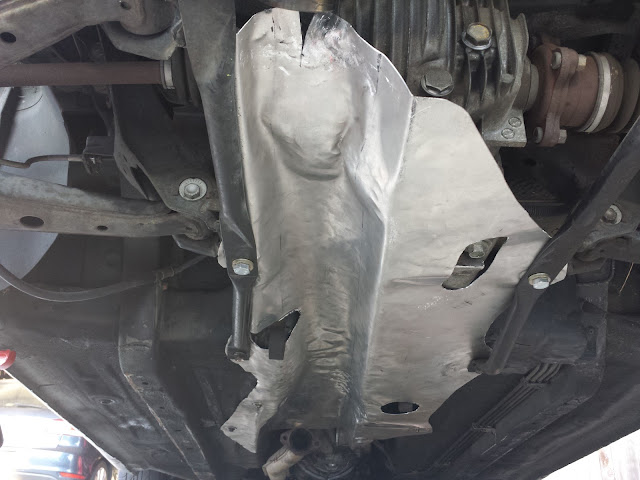
It didn't last. This was after the first of about 36 adjustments.
More shaping and the addition of holes for the exhaust hangers.
Mounting holes added.
Stainless steel mounting hardware.
The new bolt for the exhaust was hitting the heat shield that surrounds the cat.
So I hacked off the offending piece.
And here it is with everything reinstalled. It's a thing of beauty.
After a lengthy hot-weather drive to Joshua Tree and back, it seems to be working. The floor pan didn't heat up any perceptible amount. Great success.


No comments:
Post a Comment